


 English
  中文简体
中文简体  Español
  Deutsch
BJX-S003 800W replaceable 2-slice sandwich GrillerThe BJX-S003 800W replaceable 2-slice sandwich Griller offers practical multi-function cooking with four detachable non-stick plates: sandwich, grill,...
See DetailsTo use a breakfast sandwich maker, preheat the appliance for 4 to 5 minutes, then layer your ingredients in the correct order — bottom bread, meat and cheese, the sliding egg plate, your egg, and the top bread — close the lid, and cook for 4 to 5 minutes. Slide out the egg plate, open the lid, and your fully assembled hot breakfast sandwich is ready to eat. The entire process takes under 10 minutes from start to finish, making it one of the fastest ways to prepare a hot, protein-rich breakfast at home.
A breakfast sandwich maker is a compact countertop appliance designed to simultaneously cook all the components of a breakfast sandwich — bread, egg, meat, and cheese — in a single stacked unit. It eliminates the need for a separate pan, toaster, and microwave by combining multiple cooking functions into one device that typically measures no larger than a standard dinner plate.
Most breakfast sandwich makers consist of three cooking levels: a bottom plate that toasts the lower half of the bread, a middle egg ring with a sliding tray that holds and cooks the egg, and a top lid that warms and softens the upper bread half. The appliance typically reaches a cooking temperature of around 300 to 350 degrees Fahrenheit and is ready to use in under 5 minutes of preheating.
Gathering all your ingredients and tools before turning on the appliance ensures a smooth, efficient cooking process. The breakfast sandwich maker works best when you are ready to layer immediately after preheating is complete.
Following the correct layering sequence is the single most important factor in getting a properly cooked, evenly heated sandwich every time. Each step below corresponds to a physical layer in the appliance.
Plug in the breakfast sandwich maker and allow it to preheat with the lid open and the egg tray in place for 4 to 5 minutes. Most models have a green indicator light that illuminates when the appliance has reached the correct cooking temperature. Do not skip this step — placing ingredients in a cold unit will result in undercooked eggs and unmelted cheese.
Lightly spray the egg cooking ring and sliding tray with non-stick cooking spray, or use a folded paper towel to wipe a thin layer of butter across the surface. This prevents the egg from sticking and makes cleanup significantly easier. Even non-stick coated rings benefit from a light application of cooking spray after repeated use.
Open the appliance fully and place the bottom half of your bread, cut side up, on the lower cooking plate. This surface will be in contact with the heating element throughout the cooking cycle, so it will become toasted and slightly crispy. For English muffins, press the cut face gently against the plate surface to ensure even contact.
Layer your meat directly on top of the bottom bread half, followed by your cheese slice. The cheese should go on top of the meat so it faces the egg above it — this positioning allows the heat from the cooking egg to melt the cheese from above while the lower plate heats it from below, resulting in a fully melted slice in the finished sandwich. Keep ingredients within the diameter of the bread to prevent overflow.
Lower the middle ring section of the appliance down onto the bottom plate. The egg tray should now be positioned over the bread, meat, and cheese layer, forming a sealed cooking chamber beneath it. Ensure the tray is fully slid into its closed position before adding the egg — an improperly seated tray can allow the egg to drip down onto the lower ingredients before cooking is complete.
Crack one large egg directly onto the center of the egg cooking ring. For a fully set, non-runny yolk, pierce the yolk once with a fork or toothpick before closing the lid — this prevents the yolk from remaining liquid in the center while the whites cook through. If you prefer a runny yolk, leave the yolk intact. You can also pour in 2 tablespoons of pre-scrambled egg instead of a whole egg for a different texture. Season lightly with salt and pepper if desired.
Place the top half of your bread, cut side down, on the upper cooking ring above the egg. Close the lid firmly. The top bread will be warmed and steamed during the cooking cycle rather than fully toasted, giving it a soft, slightly steamed texture that contrasts with the crispier bottom half.
Allow the sandwich to cook undisturbed for 4 to 5 minutes. Do not open the lid during cooking — interrupting the heat cycle can result in an undercooked egg or unmelted cheese. Cooking times may vary slightly depending on egg size, ingredient thickness, and your specific appliance model. A fully cooked egg should have firm, opaque whites with no translucent areas.
After cooking is complete, use the tray handle to slide the egg plate outward while keeping the top and bottom sections in place. This motion drops the cooked egg down onto the cheese and meat layer below. Once the tray is fully retracted, open the lid, and the top bread half will fall into place on top of the egg, completing the sandwich assembly automatically.
Use a small spatula to lift the completed sandwich from the lower plate. Be cautious — all surfaces of the appliance remain very hot immediately after cooking. Place the sandwich on a plate, allow it to cool for 30 to 60 seconds, and serve immediately. The internal temperature of a properly cooked egg in a breakfast sandwich should reach at least 160 degrees Fahrenheit, consistent with USDA food safety guidelines for cooked eggs.
Different ingredients require slightly different approaches to ensure everything is cooked through and melted perfectly within the same 4 to 5 minute cycle. The table below provides guidance on how to handle the most common components.
| Ingredient | Preparation Needed | Cook Time in Maker | Notes |
| Whole egg | Pierce yolk for fully set | 4 to 5 minutes | Most common egg option |
| Scrambled egg (liquid) | Beat egg, pour 2 tbsp | 4 minutes | Results in fluffier texture |
| Canadian bacon / ham | None — use as is | Heats through in 4 min | Pre-cooked; just needs warming |
| Raw sausage patty | Pre-cook in pan first | Reheat only, 4 min | Maker cannot fully cook raw sausage |
| Cheese slice | None | Melts in 4 to 5 min | American cheese melts fastest |
| English muffin | Split in half | Toasts in 4 to 5 min | Best bread choice for crispness |
| Croissant | Slice horizontally | Warms in 4 min | Softer result, less toasting |
Recommended preparation and cooking times for common breakfast sandwich maker ingredients to achieve safe, fully cooked results.
The type of bread you choose significantly affects both the texture and the structural integrity of your finished sandwich. Not all bread types perform equally well in a breakfast sandwich maker.
| Bread Type | Texture Result | Holds Up to Fillings | Best For |
| English Muffin | Crispy exterior, chewy interior | Excellent | Classic everyday sandwich |
| Bagel | Lightly toasted, dense | Excellent | Hearty, filling sandwich |
| Biscuit | Soft, slightly flaky | Good | Southern-style breakfast |
| Croissant | Soft, buttery, warmed | Moderate | Indulgent weekend sandwich |
| Sandwich Bread | Lightly toasted on one side | Fair | Quick option with standard slices |
Comparison of bread types for use in a breakfast sandwich maker, rated by texture outcome, structural performance, and ideal use case.
The basic egg-meat-cheese formula is just the starting point. Once you are comfortable with the appliance, these variations expand what a breakfast sandwich maker can produce.
Skip the meat entirely and add thin slices of avocado and spinach leaves on top of the cheese layer. The heat from the egg will wilt the spinach gently and warm the avocado. This variation delivers a satisfying sandwich with healthy fats and significant fiber in under 5 minutes.
Use a bagel as your bread base, spread 1 tablespoon of cream cheese on the cut face of the bottom half before placing it in the appliance, then add a thin layer of smoked salmon in place of the meat and skip the cheese slice. Cook as normal. The cream cheese warms and softens into the bagel, creating a rich, restaurant-quality result in minutes.
On a ciabatta roll or English muffin, layer a thin slice of fresh mozzarella and a single large basil leaf in place of the standard cheese and meat. After cooking, add a thin slice of room-temperature tomato and a drizzle of balsamic glaze to the finished sandwich. This variation combines Italian flavors with the speed of the breakfast sandwich maker.
Pour 3 tablespoons of egg whites onto the egg plate instead of a whole egg, and use a slice of lean turkey breast as your protein. A single slice of low-fat Swiss cheese completes the build. This combination delivers approximately 25 to 28 grams of protein on an English muffin with fewer than 300 calories — ideal for post-workout mornings.
Cleaning the breakfast sandwich maker immediately after use — while it is still slightly warm but not hot — is the most effective strategy for preventing baked-on residue and maintaining the non-stick coating.
Most problems with breakfast sandwich makers stem from skipping the preheat step, incorrect ingredient layering, or using oversized ingredients. Here are the most frequent issues and their solutions.
Understanding how a breakfast sandwich maker compares to other common breakfast preparation methods helps explain why it has become a popular kitchen appliance for busy mornings.
| Method | Total Time | Dishes to Wash | Skill Required | Result Quality |
| Breakfast Sandwich Maker | Under 10 minutes | 1 appliance | Minimal | Consistent, hot |
| Stovetop (pan + toaster) | 12 to 18 minutes | 2 to 3 items | Moderate | High, fully customizable |
| Microwave | 3 to 5 minutes | 1 to 2 items | Minimal | Lower (rubbery egg) |
| Frozen sandwich (microwave) | 2 to 3 minutes | None | None | Variable, often soggy |
| Oven / toaster oven | 15 to 20 minutes | 1 to 2 pans | Low to moderate | Good, well-toasted bread |
Comparison of breakfast sandwich preparation methods by total time, cleanup required, skill level, and result quality.
Frozen pre-cooked meat like Canadian bacon, ham slices, or pre-formed sausage patties can be used directly from frozen, but you should increase the cooking time to 6 to 7 minutes to ensure the meat is thoroughly heated through to a safe internal temperature. Never place raw frozen meat in a breakfast sandwich maker — the appliance is not designed to cook raw meat from a frozen state, and doing so creates a food safety risk.
Standard single-unit breakfast sandwich makers cook one sandwich at a time. If you need to serve multiple people, keep finished sandwiches warm by wrapping them in foil or placing them in a 200-degree Fahrenheit oven while you cook subsequent sandwiches. A full four-person breakfast typically takes 20 to 25 minutes using a single-unit appliance. Dual-unit models are available for households that regularly cook for two or more people simultaneously.
The breakfast sandwich maker is designed for supervised use. While it does not have an open flame, the exterior surfaces reach temperatures that can cause burns on contact, and the cooking process involves raw egg that requires proper temperature management for food safety. Stay in the kitchen during the 4 to 5 minute cooking cycle and never leave the appliance plugged in and unattended, especially around children.
Yes — you can use the breakfast sandwich maker to cook an egg-only round by placing the egg on the greased ring without any bread in the lower chamber. The resulting round, flat cooked egg can be placed on bread toasted separately or used in other recipes. This is a useful technique when you want a perfectly shaped egg for a homemade sandwich assembled outside the appliance.
Sticking usually means either the non-stick coating has worn in that area, the spray was applied too lightly, or the egg was not fully cooked before the tray was removed. Apply cooking spray generously before each use, ensure the appliance is fully preheated, and cook for the full recommended time before sliding the tray. If sticking persists even with proper technique, the egg ring may need replacement — most manufacturers sell individual replacement rings as spare parts.
With regular use and proper cleaning, a quality breakfast sandwich maker typically lasts 3 to 5 years. The most common failure points are the non-stick coating on the cooking surfaces and the heating element. Avoiding metal utensils, hand-washing the removable parts rather than using a dishwasher repeatedly, and storing the appliance in a dry location will significantly extend its service life.
The breakfast sandwich maker is one of the most efficient single-purpose kitchen appliances available for producing a hot, customized, protein-rich breakfast in under 10 minutes with minimal cleanup. The keys to consistent results are simple: always preheat fully, layer ingredients in the correct sequence, use appropriately sized bread and a single egg, and clean the appliance while it is still warm after each use.
Whether you are preparing a classic egg and cheese on an English muffin or experimenting with smoked salmon bagels and veggie-loaded builds, the breakfast sandwich maker handles each variation with the same straightforward 5-step process. Master the basic technique once, and you will have a reliable, fast, and endlessly customizable breakfast solution for every morning of the week.
Your email address will not be published. Required field are marked*

sales@beijiexi.com
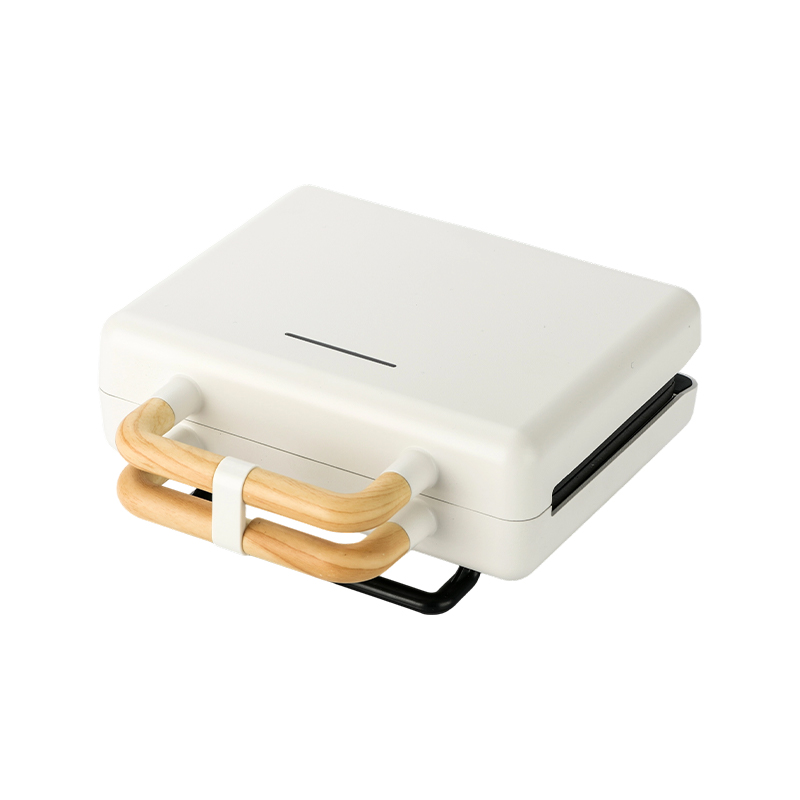
BJX-S003 800W replaceable 2-slice sandwich GrillerThe BJX-S003 800W replaceable 2-slice sandwich Griller offers practical multi-function cooking with four detachable non-stick plates: sandwich, grill,...
See Details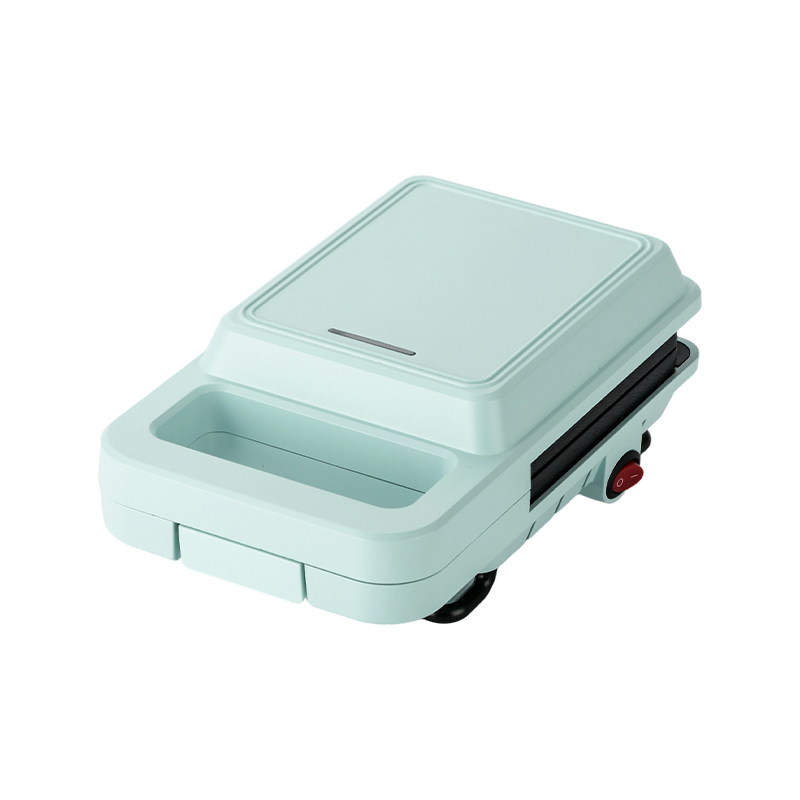
The BJX-S005 Multifunctional Sandwich Maker with Removable Plates offers multi-function cooking with six detachable plates: sandwich, waffle, donut, cake pop, and fish. Equipped with a convenient ON/O...
See Details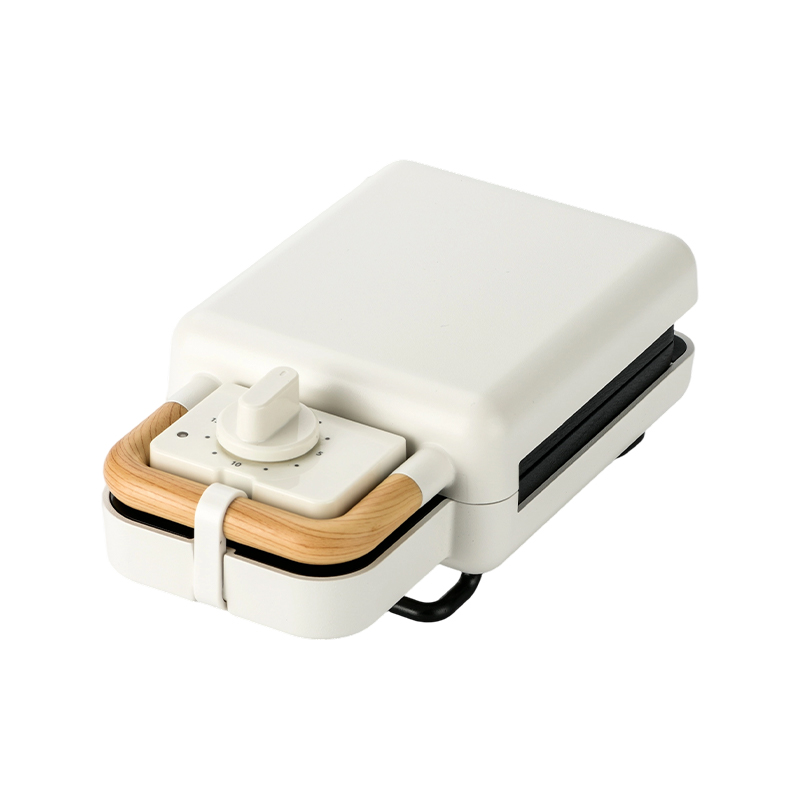
The BJX-S006 15-Minute Timer Single-Slice Plate Removable Plates Sandwich Maker offers multi-function cooking with six detachable plates: sandwich, waffle, donut, cake pop, and fish. Featuring a 15-mi...
See Details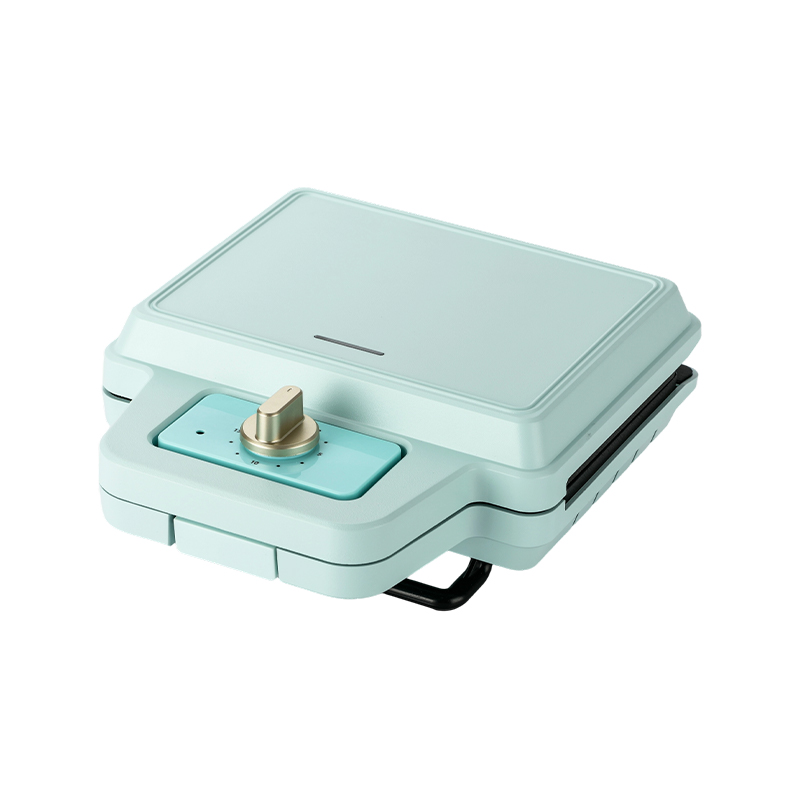
The BJX-S008 800W 2-slice Removable Plates Sandwich Waffle Maker features four interchangeable plates: sandwich, waffle, grill, and fish. Equipped with a 15-minute timer and 800W high-efficiency heati...
See Details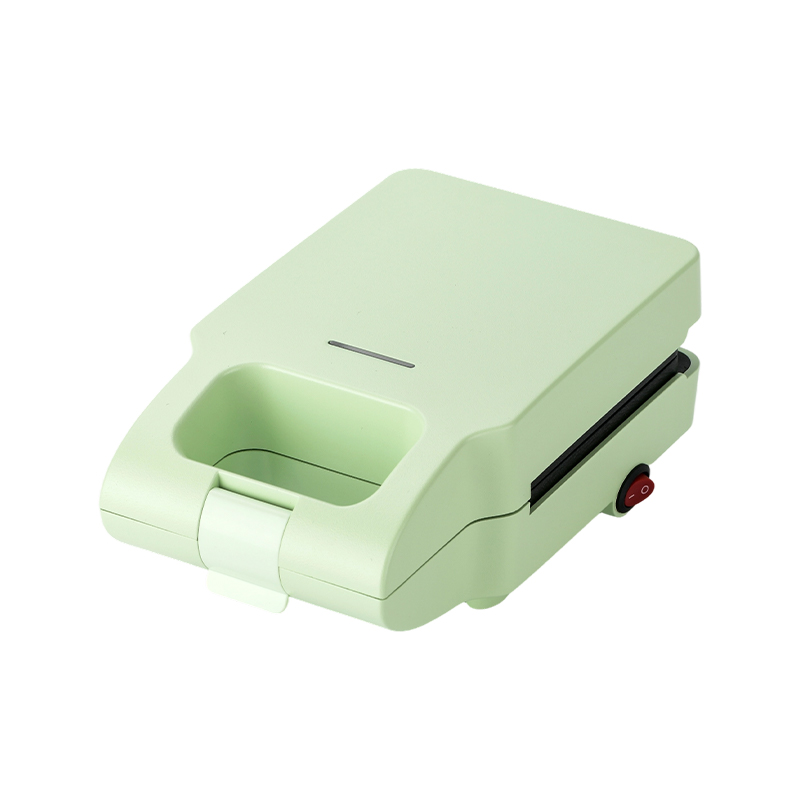
The BJX-S002 Single-chip sandwich maker with switch and Removable Plates features six interchangeable plates: sandwich, waffle, donut, cake pop, and fish. Equipped with an ON/OFF switch, it offers sim...
See Details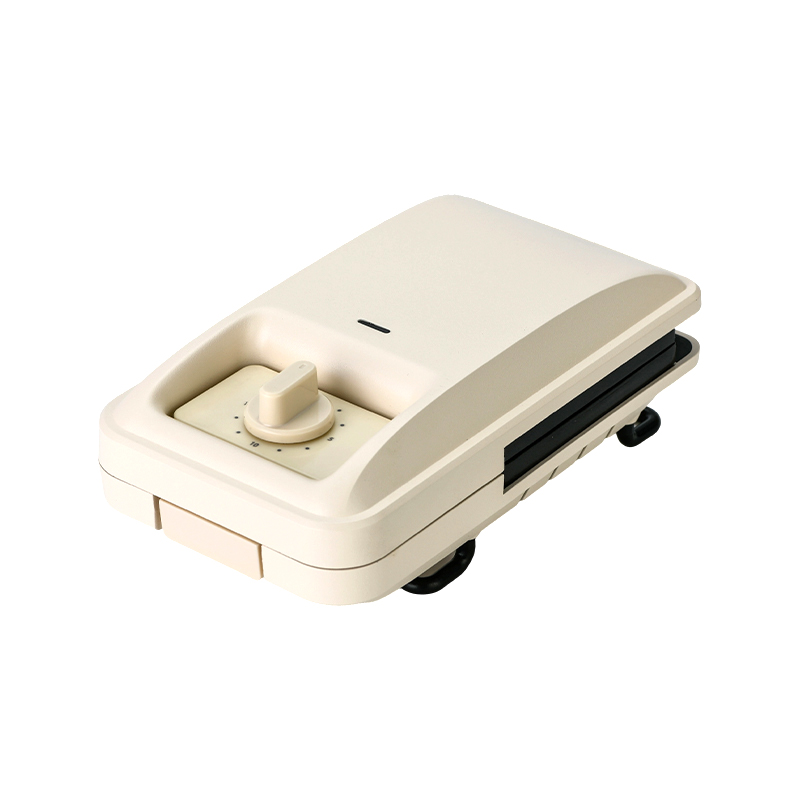
The BJX-S011 15-Minute Timer Single-Slice Removable Plates Sandwich Maker features six interchangeable plates: sandwich, waffle, donut, cake pop, and fish. Equipped with a 15-minute timer, it ensures ...
See Details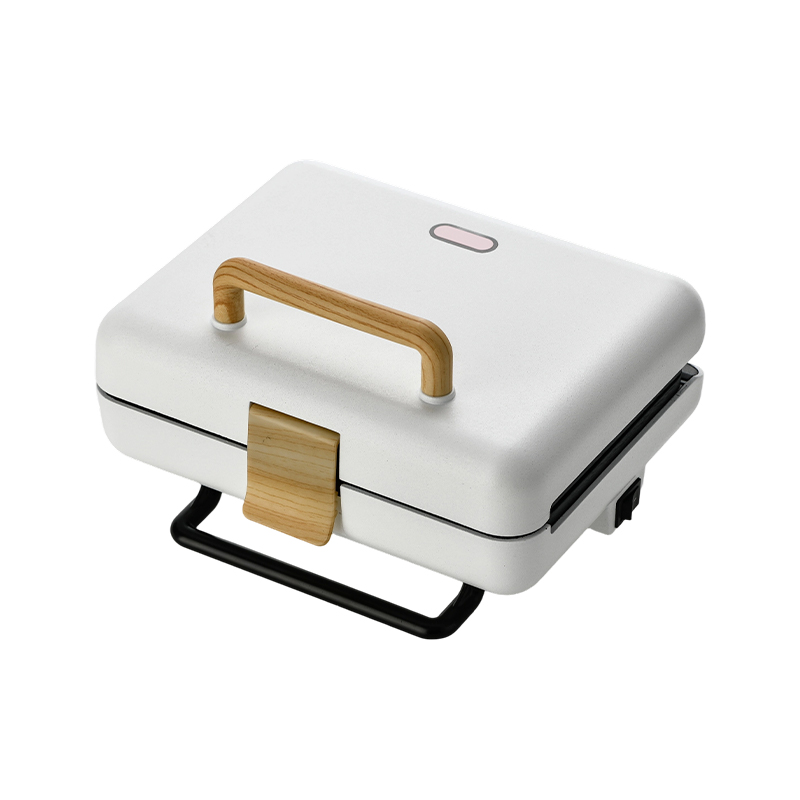
BJX-S025 – From Sandwich Press to Open Grill in Seconds The BJX-S025 is a 2-slice multi-function maker designed for ultimate versatility. Unlike standard models, it can be opened flat to 180°, instant...
See Details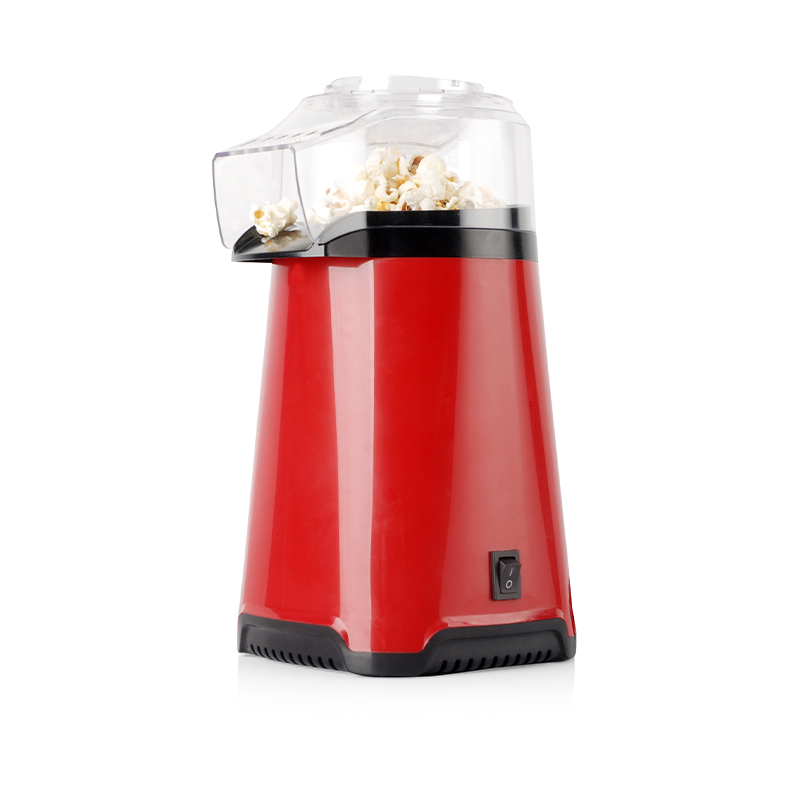
BJX-B003A – Innovative, Healthy, and Quick The BJX-B003A 60g Innovative Hot Air Popcorn Maker is designed for effortless and healthy popcorn. Featuring a 60g capacity, it produces enough popcorn for s...
See Details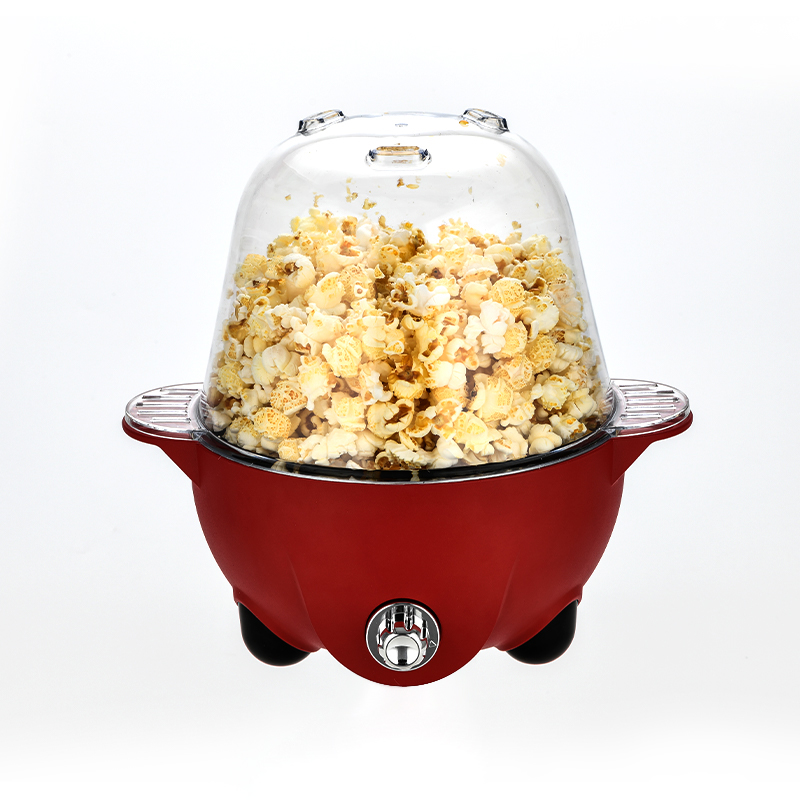
BJX-B006A – Flavorful, Timed, and Convenient The BJX-B006A 100g Timed Flavored Popcorn Machine is perfect for popcorn enthusiasts who love custom flavors. Its 100g capacity and 15-minute timer ensure ...
See Details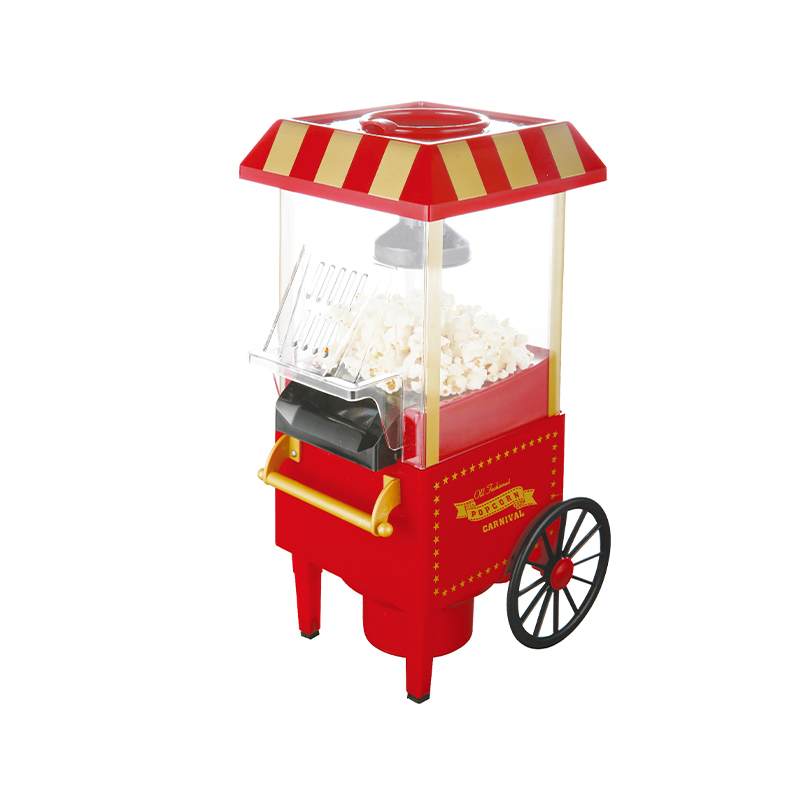
BJX-B009 – Retro Style with Mobility The BJX-B009 Retro Hot Air Popcorn Machine with Wheels is designed for users who want healthy popcorn with vintage style and practical mobility. Its Nostalgia-insp...
See Details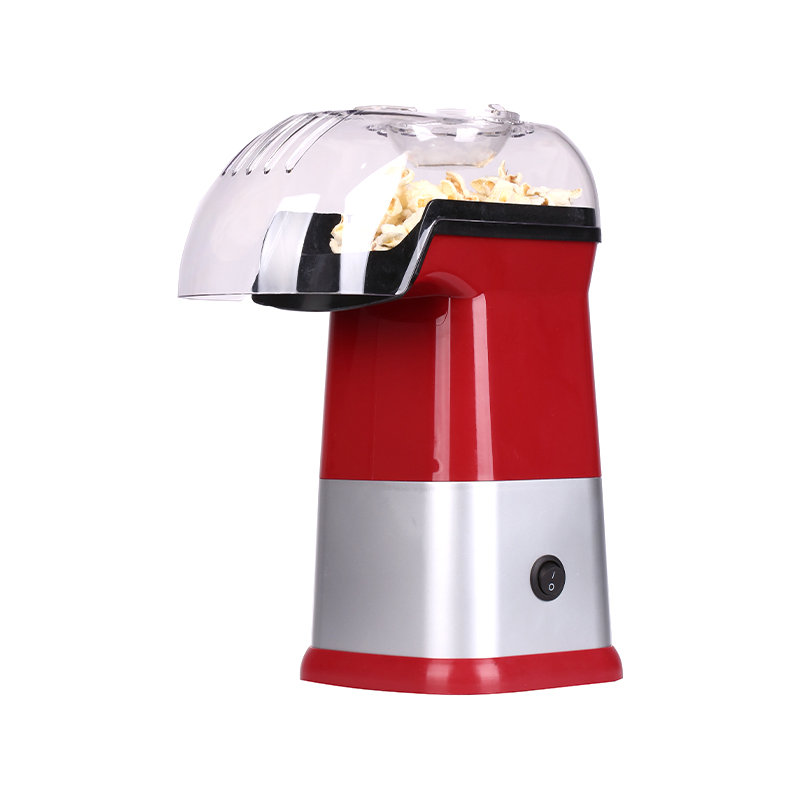
BJX-B011 – Innovative Design, Healthy Snacking The BJX-B011 60g Innovative Design Hot Air Popcorn Machine introduces a fresh, modern aesthetic while maintaining efficient, oil-free popping. Its 60g ca...
See Details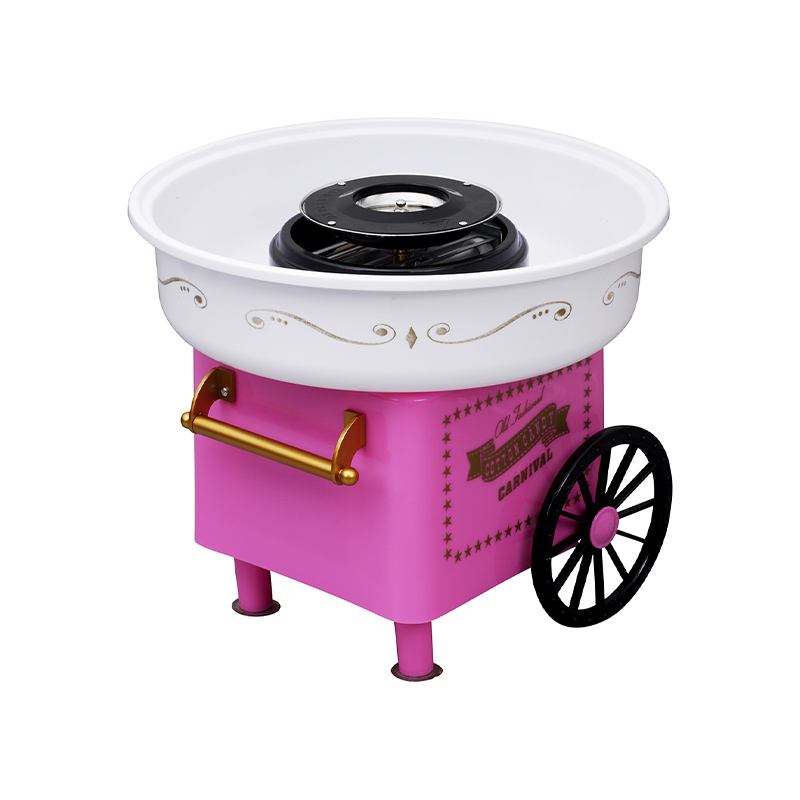
BJX-C701 – Retro Design with Complete Accessories The BJX-C701 cotton candy machine features a vintage design that adds charm to any kitchen or play area. Its built-in wheels allow for stable placemen...
See Details
Copyright © Ningbo Beijiexi Electrical Appliance Co., Ltd. All Rights
Reserved
China Small Kitchen Appliances Manufacturers Wholesale Small Kitchen Appliances Supplier
