


 English
  中文简体
中文简体  Español
  Deutsch
 A 110V panini sandwich maker is absolutely worth it for most North American households. Running on the standard 110–120V electrical outlets found across the US, Canada, and Mexico, these appliances deliver restaurant-quality grilled sandwiches with crispy, golden exteriors and perfectly melted interiors, all in under 5 minutes. Whether you're a busy professional, a college student, or a family cook looking to add variety to weeknight meals, a 110V panini press offers unmatched convenience, versatility, and value.
What Is a 110V Panini Sandwich Maker and How Does It Work?
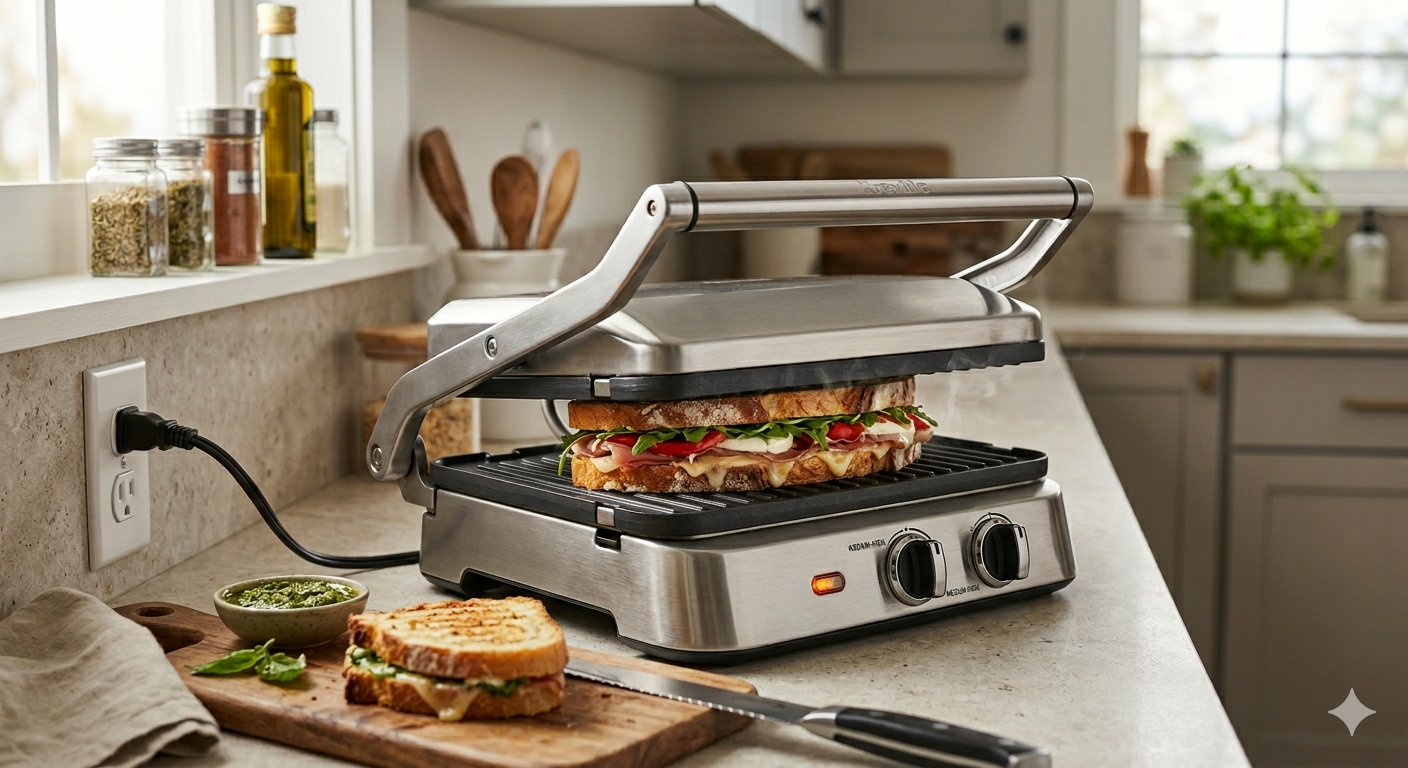
A 110V panini sandwich maker is a countertop electric grill specifically engineered to press, toast, and heat sandwiches using standard North American household voltage. Unlike European models that require 220–240V power, these units plug directly into any standard wall outlet without adapters or converters.
The appliance features two heated plates — a top floating lid and a bottom base — that clamp down on your sandwich simultaneously. This dual-heat approach compresses the bread while cooking both sides at once, creating the signature panini texture: crunchy ridges on the outside, warm and gooey on the inside.
Core Components of a 110V Panini Press
- Heating Elements: Embedded in both the top and bottom plates, typically rated between 750W and 1,800W at 110V.
- Grill Plates: Usually cast aluminum or cast iron with non-stick coating. Ridged plates create classic grill marks; flat plates produce even browning.
- Floating Hinge: Allows the top plate to adjust automatically to accommodate sandwiches of varying thicknesses, from a thin wrap to a stacked club.
- Temperature Control: Ranges from basic on/off switches to variable dials and digital displays offering precise heat settings (usually 250°F–450°F).
- Drip Tray: A removable tray that collects excess grease or moisture, making cleanup significantly easier.
110V Power Explained: What Wattage Do You Actually Need?
For home use, a 110V panini maker rated at 1,000W–1,500W is the sweet spot — powerful enough to reach optimal cooking temperatures quickly without tripping a standard 15-amp circuit breaker.
At 110V, power output is determined by wattage. Higher wattage means faster heat-up times and better recovery between sandwiches. Here's a quick breakdown:
| Wattage Range | Heat-Up Time | Best For | Energy Draw (Amps) |
| 750W – 900W | 4–6 minutes | Light daily use, small households | ~7–8A |
| 1,000W – 1,200W | 2–4 minutes | Families, frequent use | ~9–11A |
| 1,500W – 1,800W | Under 2 minutes | Heavy use, multiple sandwiches | ~13–16A |
Table: Wattage comparison for 110V panini sandwich makers by use case and electrical draw.
Note: Units above 1,500W should ideally be used on a dedicated 20-amp circuit to avoid breaker trips, especially if other kitchen appliances are running simultaneously.
Types of 110V Panini Sandwich Makers: Which Style Fits Your Kitchen?
The right type of 110V panini press depends on how much cooking space, plate versatility, and budget you need. There are three main categories available on the market today.
1. Compact Clamshell Panini Makers
These are the most common entry-level models. They feature a hinged top lid that presses down with moderate, fixed pressure. Ideal for 1–2 person households, they typically offer 6–8 inches of cooking surface and weigh as little as 3 lbs, making them easy to store. Wattage usually falls in the 750W–1,100W range at 110V.
2. Full-Size Floating Hinge Panini Presses
Mid-range to premium 110V panini sandwich makers feature a floating hinge that automatically accommodates bread thickness from ½ inch to 3 inches. These presses typically offer 100–180 sq. inches of cooking surface — enough for two full-size paninis simultaneously. Wattage ranges from 1,200W to 1,500W, producing professional-level results at home.
3. Reversible Grill/Griddle Combo Units
The most versatile option. These 110V units feature removable, reversible plates: one side is ridged for panini-style grilling, the other is flat for pancakes, eggs, or searing proteins. Some models open completely flat to function as a full 200+ sq. inch griddle. At 1,400W–1,800W, they're the most powerful home 110V option and deliver the best value per function.
| Type | Cooking Surface | Wattage (110V) | Versatility | Price Range |
| Compact Clamshell | ~50–75 sq. in. | 750W–1,100W | Low | $20–$50 |
| Floating Hinge Press | 100–180 sq. in. | 1,200W–1,500W | Medium | $50–$120 |
| Reversible Grill/Griddle | 180–240 sq. in. | 1,400W–1,800W | High | $80–$180 |
Table: Side-by-side comparison of 110V panini sandwich maker types by key specifications and price.
Key Features to Look for in a 110V Panini Sandwich Maker
The most important features to prioritize are plate material, temperature control, and ease of cleaning — these three factors determine 80% of your cooking experience.
Plate Material & Coating
Non-stick coated cast aluminum plates are the most popular choice for home 110V panini presses. They heat quickly, distribute temperature evenly, and release food cleanly without the need for excessive oil. Cast iron plates, while heavier and slower to heat, retain heat longer and produce superior sear marks — ideal for thick ciabatta or focaccia.
Avoid thin stamped steel plates; they develop hot spots at 110V power levels, leading to uneven cooking and burnt patches.
Temperature Control Range
A quality 110V panini sandwich maker should offer at least three distinct heat settings. Premium models feature variable dials or digital controls with a range of 250°F to 450°F (120°C–230°C). This flexibility lets you:
- 250°F–300°F: Warming wraps, quesadillas, and delicate breads
- 350°F–375°F: Standard panini, grilled cheese, and club sandwiches
- 400°F–450°F: Thick focaccia panini, searing meats, high-heat finishing
Removable vs. Fixed Plates
Removable plates are a game-changer for cleanup. Models with dishwasher-safe removable plates reduce cleanup time from 10+ minutes of scrubbing to under 2 minutes. Fixed plates require careful wiping with a damp cloth while still warm — effective but more time-consuming. For anyone making paninis more than three times a week, removable plates are a non-negotiable feature.
Indicator Lights & Preheat Alerts
Premium 110V panini makers include both a power indicator and a ready indicator light. The ready light signals when the unit has reached optimal cooking temperature — typically 375°F — so you don't have to guess. Studies of cooking appliance reviews consistently show that indicator lights are among the top 3 most-valued features cited by users in customer feedback.
Cord Length and Storage
A cord length of at least 30 inches (76 cm) gives you enough flexibility to position the unit comfortably without straining an outlet. Some models feature a cord wrap system on the base for tidy storage. For small kitchens, look for units with a vertical storage option — the lid locks upright so the press stands on its side, cutting its countertop footprint by half.
What Can You Cook on a 110V Panini Sandwich Maker Beyond Sandwiches?
A 110V panini press is far more versatile than its name suggests — it can cook over 20 types of foods beyond traditional pressed sandwiches.
- Quesadillas & Wraps: Press flour or corn tortillas filled with cheese, beans, or chicken. 3–4 minutes at 375°F produces perfectly sealed edges.
- Grilled Vegetables: Zucchini, bell peppers, portobello mushrooms, and asparagus develop beautiful char marks in 4–6 minutes.
- French Toast: At 300°F on flat plates, French toast cooks evenly on both sides simultaneously — no flipping needed.
- Chicken Breasts: Thin boneless chicken breasts cook through in 5–7 minutes at 400°F. The pressing action shortens cook time by 30–40% compared to stovetop methods.
- Hash Browns & Potato Cakes: Flat-plate models produce crispy, evenly browned potato patties in under 8 minutes.
- Bacon & Sausages: At 375°F, bacon strips cook in 3–4 minutes with minimal splatter due to the enclosed cooking surface.
- Waffles: Some 110V combo models include waffle plates as optional accessories, expanding breakfast capabilities further.
How to Clean and Maintain Your 110V Panini Sandwich Maker
Proper cleaning after every use extends the life of your 110V panini press significantly — most non-stick plate coatings last 3–5 years with correct care, compared to under a year with harsh cleaning methods.
Step-by-Step Cleaning Routine
- Unplug and cool down: Allow the unit to cool for 5–10 minutes after use. Never submerge the unit in water.
- Wipe plates while warm: Use a damp cloth or paper towel to wipe the plates while still slightly warm. Residue comes off far more easily at this stage.
- Empty the drip tray: Rinse the drip tray under warm water. Wash with mild dish soap if needed.
- For stubborn residue: Place a damp cloth on the closed press for 5 minutes to steam-loosen food particles, then wipe clean.
- For removable plates: Wash in warm soapy water or place on the top rack of the dishwasher if manufacturer-approved.
- Never use: Metal scrubbers, abrasive cleaners, or steel wool — these destroy non-stick coatings permanently.
Pros and Cons of 110V Panini Sandwich Makers
The advantages of owning a 110V panini maker clearly outweigh the limitations for most home cooks, particularly given the speed, ease of use, and multi-functionality these units offer.
| Advantages | Limitations |
| Works on any standard US/Canada outlet | Not compatible with 220V outlets without a converter |
| Cooks sandwiches in 3–5 minutes | Smaller cooking surface than commercial units |
| Multi-functional: grill, griddle, and press | Budget models may have uneven heat distribution |
| Easy to clean, especially with removable plates | Non-stick coating requires delicate care |
| Compact and easy to store | High-wattage models may need a dedicated circuit |
| Affordable — quality units from $30 to $120 | Cannot replace a full-size stovetop or oven |
Table: Comprehensive pros and cons summary for 110V panini sandwich makers.
110V Panini Sandwich Maker Buying Guide: What to Check Before Purchasing
Before buying any 110V panini press, verify five critical specifications to ensure the unit meets your actual cooking needs and kitchen setup.
1. Voltage Certification
Confirm the unit is certified for 110V–120V operation. Look for UL (Underwriters Laboratories) or ETL certification labels on the packaging. These certifications confirm the appliance meets North American safety standards and won't pose electrical hazards on standard household circuits.
2. Cooking Surface Size vs. Household Size
Match the surface area to your typical batch size. For 1–2 people, 50–80 sq. inches is sufficient. For families of 3–4, target 130–180 sq. inches to cook two full sandwiches simultaneously, cutting total cooking time per meal in half.
3. Warranty and Customer Support
A quality 110V panini sandwich maker should come with at least a 1-year manufacturer warranty. Premium models often extend this to 2–3 years. Check that the brand has accessible US-based customer service and that replacement parts (especially grill plates) are available.
4. Plate Interchangeability
If you plan to use the panini maker for multiple cooking tasks, invest in a model where plates are interchangeable with flat, ridged, and waffle accessories. This turns a single $80–$120 appliance into a multi-cooker, replacing several single-purpose gadgets.
5. Weight and Footprint
Consider where you'll store the unit. Compact 110V panini makers weigh 3–5 lbs and measure roughly 10"×8"×4" when closed. Larger combo units can weigh 8–12 lbs and require more dedicated counter or cabinet space. Check the folded dimensions before purchasing if counter space is at a premium.
Frequently Asked Questions About 110V Panini Sandwich Makers
Q: Can I use a 110V panini maker in other countries?
A 110V panini sandwich maker is designed for countries that use 110–120V power standards, including the US, Canada, Mexico, and parts of Central America. Using it in countries with 220–240V systems (such as the UK, Europe, or Australia) will permanently damage the unit and is a fire hazard. If you travel internationally, you will need a step-down voltage converter rated for the appliance's wattage.
Q: How long does a 110V panini press take to heat up?
Heat-up time varies by wattage. A 750W model takes approximately 4–6 minutes to reach cooking temperature. A 1,200W model heats up in 2–3 minutes, while a 1,500W+ unit can be ready in as little as 90 seconds. Most models include a ready indicator light that eliminates the guesswork.
Q: Is a 110V panini maker safe to leave unattended while cooking?
Like all heating appliances, panini makers should not be left completely unattended while in operation. However, they are significantly safer than stovetop cooking because the enclosed plates contain heat, minimize splatter risk, and many models include automatic overheat protection that shuts off the unit if it exceeds a safe internal temperature.
Q: Do I need to use oil or butter on a non-stick 110V panini press?
You do not need to apply oil or butter to the plates of a non-stick panini press — the coating prevents sticking. However, lightly brushing the outside of your bread with olive oil or butter before pressing enhances browning and flavor significantly. For cast iron plates, a light coat of cooking spray is recommended to maintain the seasoning and prevent sticking.
Q: What types of bread work best in a 110V panini sandwich maker?
Ciabatta, focaccia, sourdough, and baguette-style rolls are the classic choices for panini, as their sturdy crumb structure holds up to pressing without collapsing. Softer breads like white sandwich bread or brioche can also be used — just apply lighter pressure (avoid locking down the lid) to prevent squishing the sandwich entirely flat. Gluten-free and multigrain breads work equally well at medium heat settings.
Q: How is a 110V panini maker different from a regular sandwich toaster?
While both devices use heated plates to cook sandwiches, a panini maker uses a floating hinge system that applies even pressure across varying bread thicknesses, creating the signature pressed and grilled result. Traditional sandwich toasters use fixed, often triangular plates that seal the edges of the bread — producing a different texture and portion size. Panini makers also typically reach higher temperatures (up to 450°F vs. ~350°F) and offer far more versatility in terms of foods they can cook.
Q: How much electricity does a 110V panini sandwich maker use per session?
A typical 1,200W model used for 8 minutes (2 minutes heat-up + 6 minutes cooking) consumes approximately 0.16 kWh per session. At the US average electricity rate of $0.17 per kWh, this equals less than $0.03 per use — making the 110V panini press one of the most energy-efficient cooking appliances in any home kitchen.
Final Verdict: Should You Buy a 110V Panini Sandwich Maker?
For anyone living in North America who values fast, versatile, and restaurant-quality cooking at home, a 110V panini sandwich maker is one of the best small appliance investments you can make.
The combination of plug-and-play 110V compatibility, speed (most sandwiches ready in under 5 minutes), and broad cooking versatility makes these units a practical everyday tool rather than a single-use gadget. Whether you spend $30 on a compact clamshell model or $120 on a full-featured reversible grill-griddle combo, you'll recover that investment in saved café visits within the first month.
Choose a model with removable non-stick plates, a floating hinge, and at least 1,200W of power for the best all-round experience. Look for UL or ETL safety certification and a minimum 1-year warranty to protect your purchase. With the right 110V panini press in your kitchen, a perfectly pressed, golden-brown Italian-style sandwich is never more than five minutes away.


")


