

 English
  中文简体
中文简体  Español
  Deutsch
A panini sandwich maker earns its place in the kitchen because it does one thing exceptionally well: it turns a simple sandwich into a crisp, golden, evenly heated meal in about four minutes. The formula is consistent — butter the outside of the bread, layer in a filling that melts or heats well, close the press, and let the heat and weight do the rest.
Below are ten dependable panini maker recipes, a short guide to choosing the right machine, and practical tips that prevent the most common mistakes. If you are buying a maker now, prioritise models with temperature control and removable plates, because those two features have the largest impact on results and cleanup. A 28 cm panini grill with adjustable heat, for example, gives you room to cook two sandwiches or a larger flatbread at once.
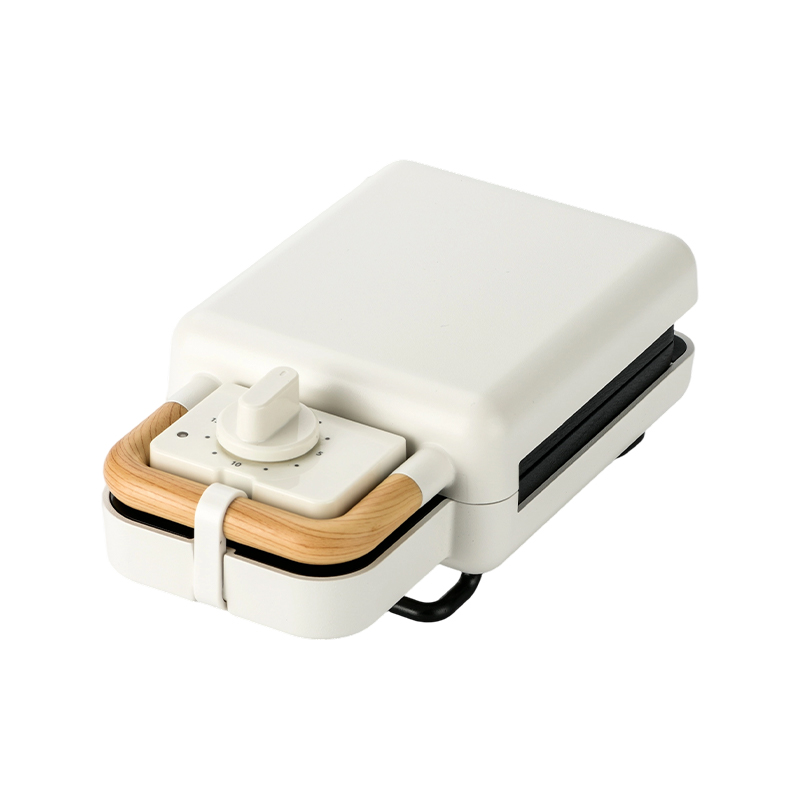
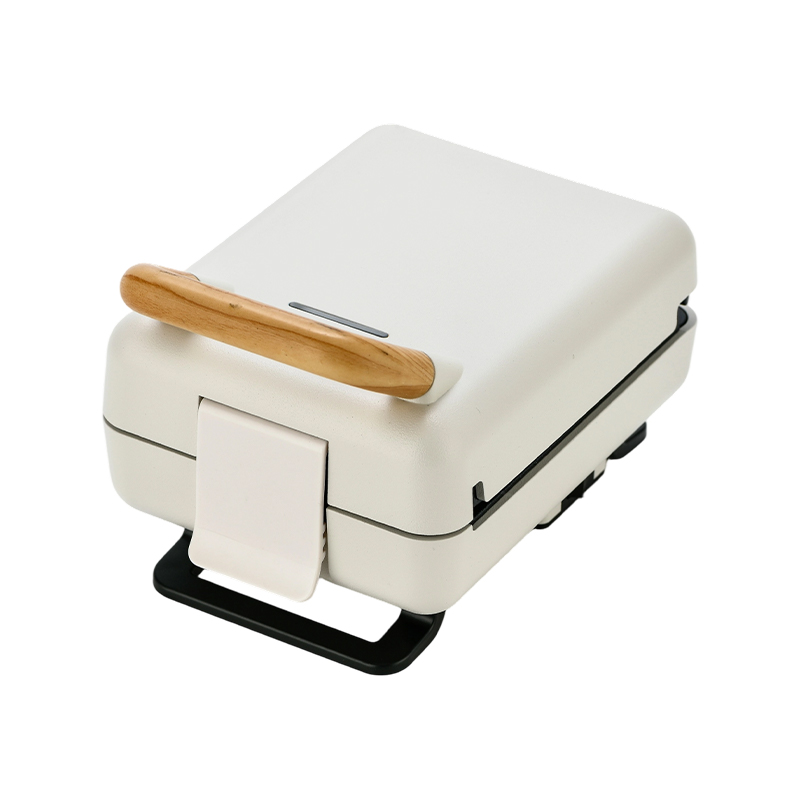
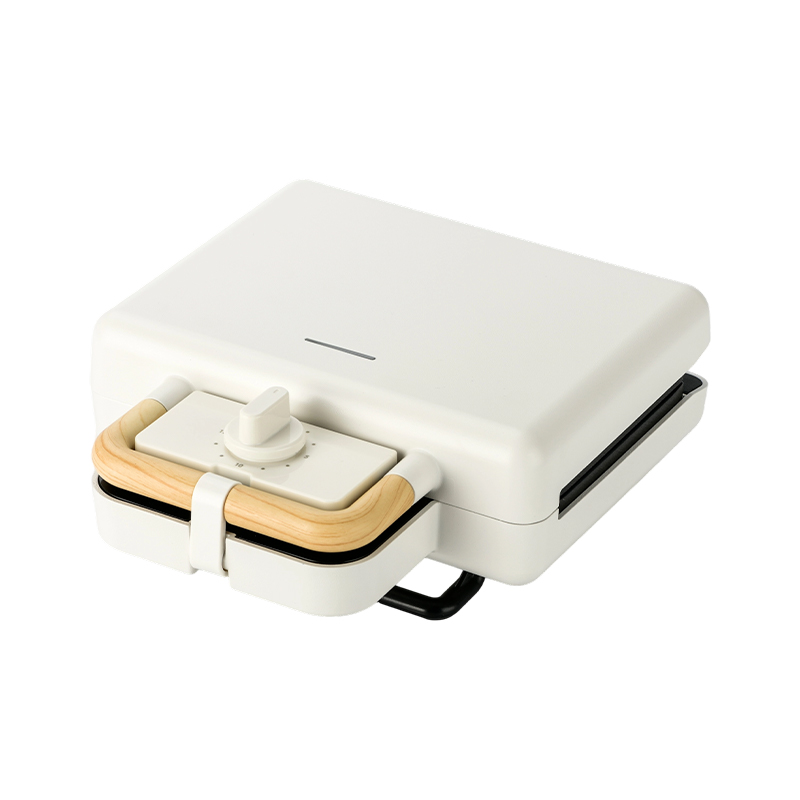
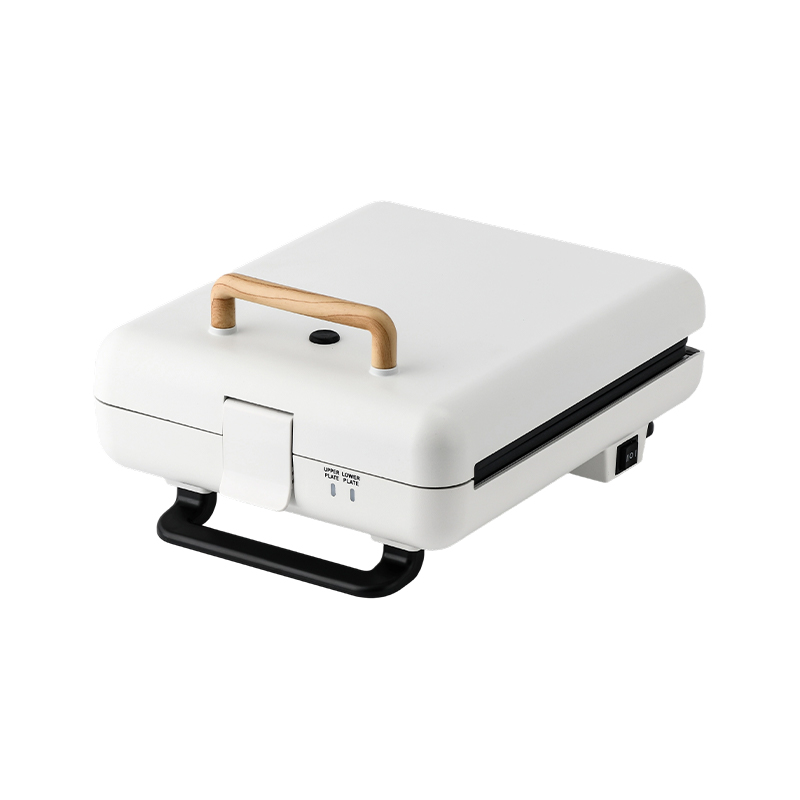
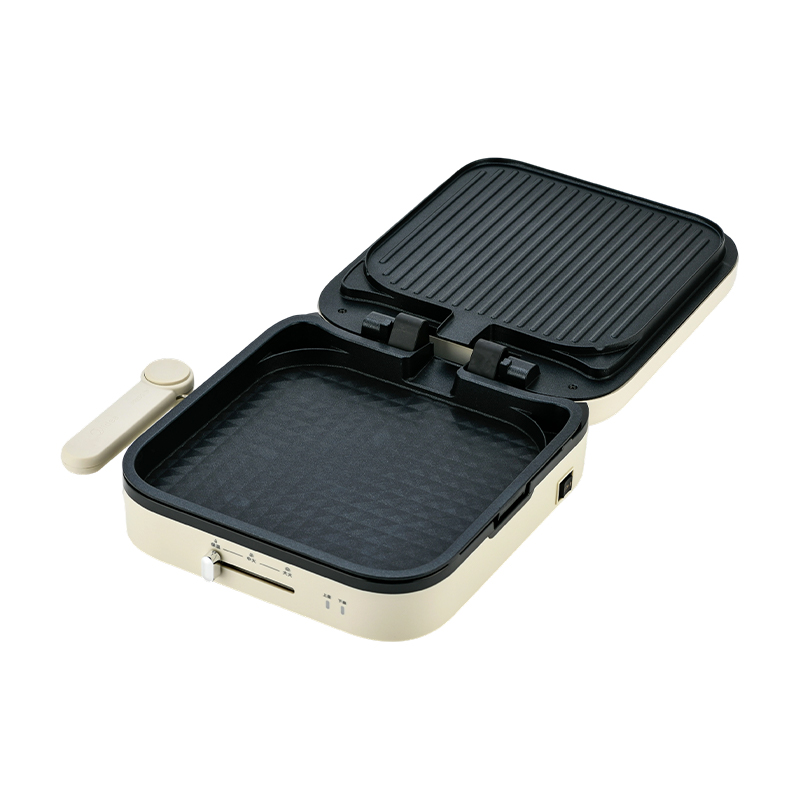 BJX-S023 28x28cm Panini & Grill Maker with Temperature ControlThis large 28x28cm grill offers precise heat adjustment via 3-level power and temperature control, suitable for family meals. Its detachable lower plate and 180° flat-open design simplify cleaning and expand cooking options.View Product →
10 Panini Sandwich Maker Recipes That Work Every Time
Every recipe below follows the same three-step method, and total cooking time stays between three and five minutes.
- Butter the outside of the bread.
- Layer the filling so it sits flat and fits inside the bread.
- Press on medium-high heat until the outside is deep golden.
1. Classic Ham and Cheese Panini
This is the benchmark recipe, and it fails only when the cheese does not melt. Grate the cheese instead of slicing it, keep the ham thin, and use sourdough or country bread. Spread a little Dijon mustard inside, press for four minutes, and the bread turns deep golden while the cheese becomes fully molten.
2. Caprese Panini
Fresh mozzarella releases water when heated, so pat the tomato slices dry and keep them thin. Layer mozzarella, tomato and basil on ciabatta, add a drizzle of balsamic glaze, and press for three minutes. You get crisp bread with a soft, bright filling that never turns soggy.
3. Chicken Pesto Panini
Leftover rotisserie chicken makes this a five-minute meal. Mix shredded chicken with two tablespoons of pesto so the filling spreads evenly, add provolone or mozzarella, and press on focaccia for four minutes. The pesto keeps the chicken moist and adds enough flavour that you do not need extra sauce.
4. Breakfast Egg and Cheese Panini
Scramble one egg in the microwave for 45 seconds, then layer it with cheddar and two strips of bacon inside buttered toast bread. Press for three minutes. The top plate compresses everything into a neat handheld breakfast that does not spill.
5. BBQ Pulled Pork Panini
Saucy fillings need sturdy bread, so use brioche or a thick white loaf. Toss pulled pork in barbecue sauce, add pickles for acidity, and press for four minutes at medium heat. Move the sandwich once halfway through so one side does not stick to the plate.
6. Turkey Avocado Panini
Layer turkey, sliced avocado, provolone and a little mayonnaise on multigrain bread, then press for three minutes. The avocado keeps the sandwich moist without making the bread wet, and the mayonnaise protects the turkey from drying out.
7. Mediterranean Veggie Panini
Raw vegetables will not soften in a four-minute press, so sauté sliced zucchini, bell pepper and red onion in a hot pan for two minutes first. Combine them with hummus, feta and spinach on whole-grain bread, then press for three to four minutes. This is the best vegetarian option on the list.
8. Tuna Melt Panini
Mix canned tuna with mayonnaise, chopped celery and a squeeze of lemon, then spread it on rye or sourdough and top with Swiss cheese. Because tuna salad is already moist, butter only one side of the bread to keep the finished sandwich from feeling greasy. Press for four minutes.
9. Apple Cheddar Panini
Thin apple slices, sharp cheddar and a drizzle of honey make a sweet-savoury combination that works as a fall lunch or after-school snack. Use sourdough, press for three minutes, and stop when the cheese bubbles and the apple slices soften. The contrast between crisp bread and warm fruit is the point.
10. Chocolate-Hazelnut and Banana Dessert Panini
Spread chocolate-hazelnut spread on brioche, add banana slices, and press for two to three minutes. The banana caramelises against the hot plates while the spread melts into the bread. This is also the easiest recipe on the list to adapt with different fruit.
What to Look For in a Panini Maker
The best panini maker for these recipes heats evenly, presses without squeezing out fillings, and gives you some control over temperature. A floating top hinge adapts to thick sandwiches instead of crushing them, and a 180° opening lets the machine lie flat and double as a griddle.
| Feature | Why it matters | What to choose |
|---|---|---|
| Plate size | A larger surface cooks two sandwiches at once or fits a 28 cm flatbread. | At least 24 × 24 cm for double sandwiches; larger for family cooking. |
| Temperature control | Prevents burning on delicate bread and gives a deeper toast on thick loaves. | Adjustable thermostat with at least three levels. |
| 180° opening | Lets the press lie flat and work as an open griddle for eggs, bacon or vegetables. | Essential if you plan to cook breakfast items directly on the plates. |
| Removable plates | Makes cleanup much easier when cheese melts onto the surface. | Non-stick removable plates that can be washed separately. |
| Timer | Prevents over-toasting when you are doing several things at once. | A 15-minute timer with auto shut-off is a practical addition. |
For even heat distribution and the flexibility to cook larger items, choose a machine with an adjustable thermostat and a cool-touch handle. A two-slice model that opens 180° gives you the best balance between sandwich duty and griddle duty without taking up extra counter space.
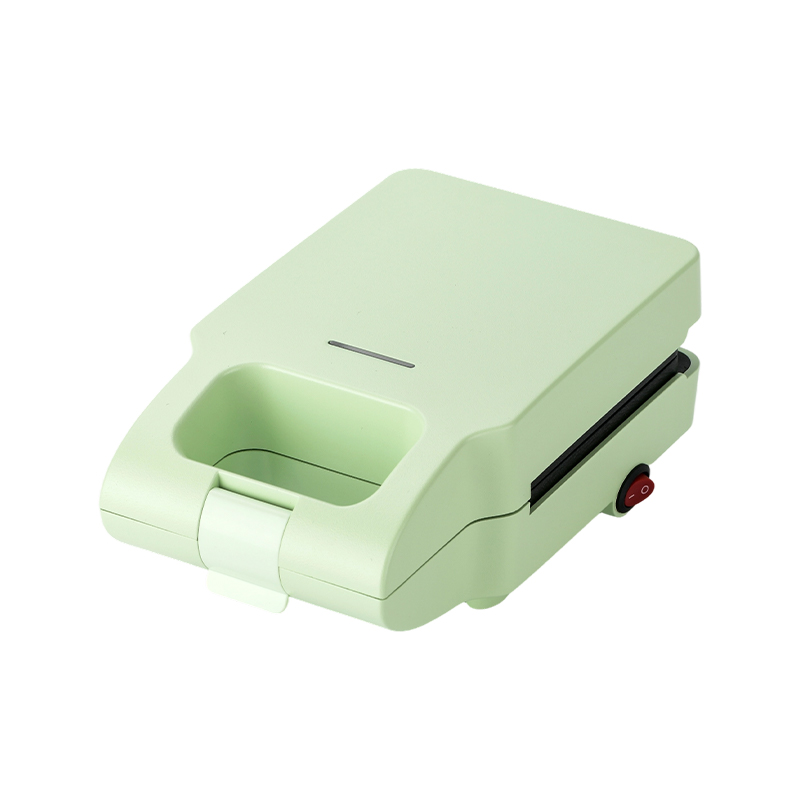
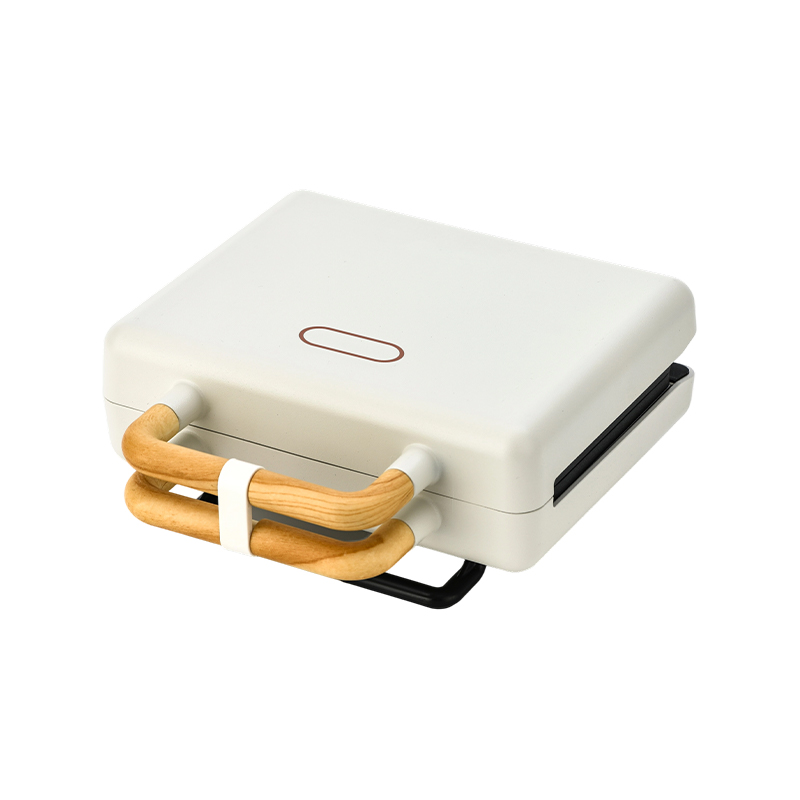
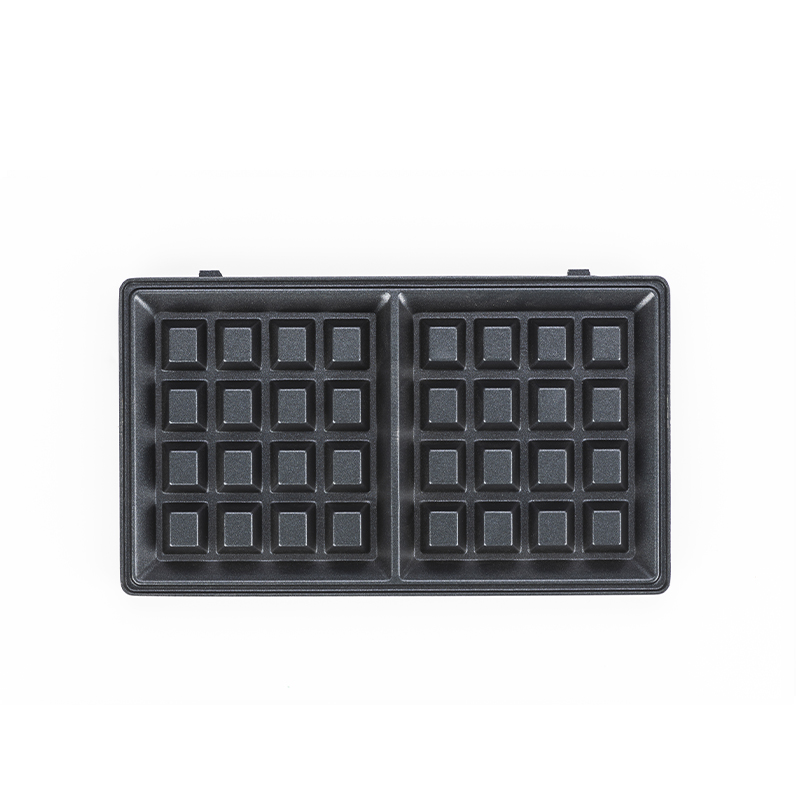 BJX-S025 2-Slice 180° Open Interchangeable Plate Sandwich & Grill MakerThis 2-slice maker opens flat to become a tabletop grill and includes interchangeable non-stick plates for sandwiches, waffles, and grilling. A power switch and dual heating plates ensure safe, even cooking across multiple recipes.View Product →
Pro Tips for Better Panini Results
Most panini problems come from a cold plate, too much filling, or pressure applied too early. Fix those three, and your sandwiches will improve immediately.
- Preheat fully. Wait until the indicator light switches off, usually three to five minutes. Bread pressed onto a cold plate comes out pale and chewy.
- Butter the outside, not the inside. Butter on the outside creates the crust; oil or sauce on the inside makes the filling slide out during pressing.
- Keep the filling to about half a centimetre. Stacked ingredients should fit without bulging. Excess filling causes cheese to leak onto the plates, where it burns and sticks.
- Close the lid gently. Let the top plate rest with its own weight. Pushing down hard squeezes out moisture and flattens the texture.
- Rest the sandwich for one minute after cooking. Cutting immediately lets the melted cheese run out; a short rest lets it set and hold together.
A reliable maker turns these steps into a quick daily routine, and a well-designed sandwich maker can make you more efficient in the kitchen overall.
Beyond the Sandwich: Other Uses for a Panini Press
The same press that makes lunch paninis can also cook breakfast eggs, sear vegetables and crisp bacon, so it earns more counter space than a dedicated sandwich grill. Today's multifunctional models swap sandwich plates for waffle or grill plates, and the multifunctional sandwich maker is becoming a new standard for modern families.
- Eggs and omelettes: crack an egg directly onto the lower plate, close the lid, and cook for two minutes for a flat, evenly set egg.
- Grilled vegetables: arrange zucchini, bell pepper and asparagus on the lower plate and press for three to four minutes.
- Bacon: lay strips flat, close the press, and cook for two to three minutes for crisp, evenly browned bacon.
- Quesadillas and wraps: fold any tortilla with cheese and filling, press for two minutes, and you get a crunchy exterior without oil.
- Croque monsieur and Monte Cristo: any grilled sandwich variant works in the press, so you can adapt café-style recipes at home.
Because the plates heat quickly and clean easily, you can also use the press to toast croutons, warm tortillas or reheat refrigerated pastry. One tool covers several small cooking tasks.
Frequently Asked Questions
Can I use a panini maker without butter or oil?
Yes. Non-stick plates work without fat, but you will get a lighter, less crisp crust. If you want the classic golden texture, brush the outside of the bread lightly with oil or butter.
How long should I press a panini?
Most sandwiches take three to five minutes, depending on bread thickness and whether the filling is pre-cooked. Start with four minutes on medium-high and check the colour before adding more time.
Can I make more than one panini at once?
A standard two-slice maker cooks two sandwiches at a time. A four-slice model is worth considering if you regularly cook for a family or a small group, because it keeps the first batch warm while the second finishes.
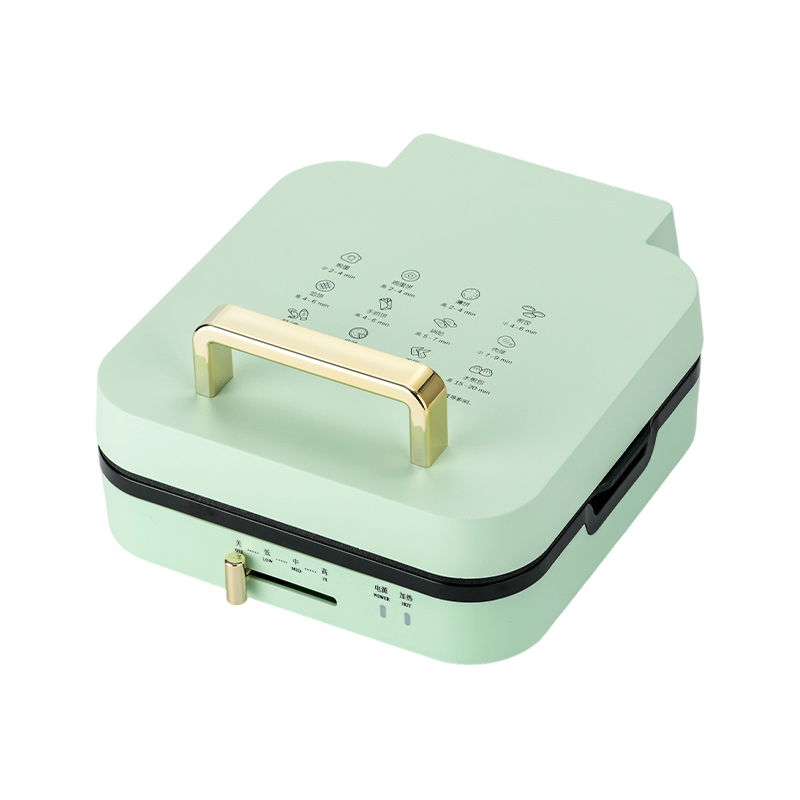
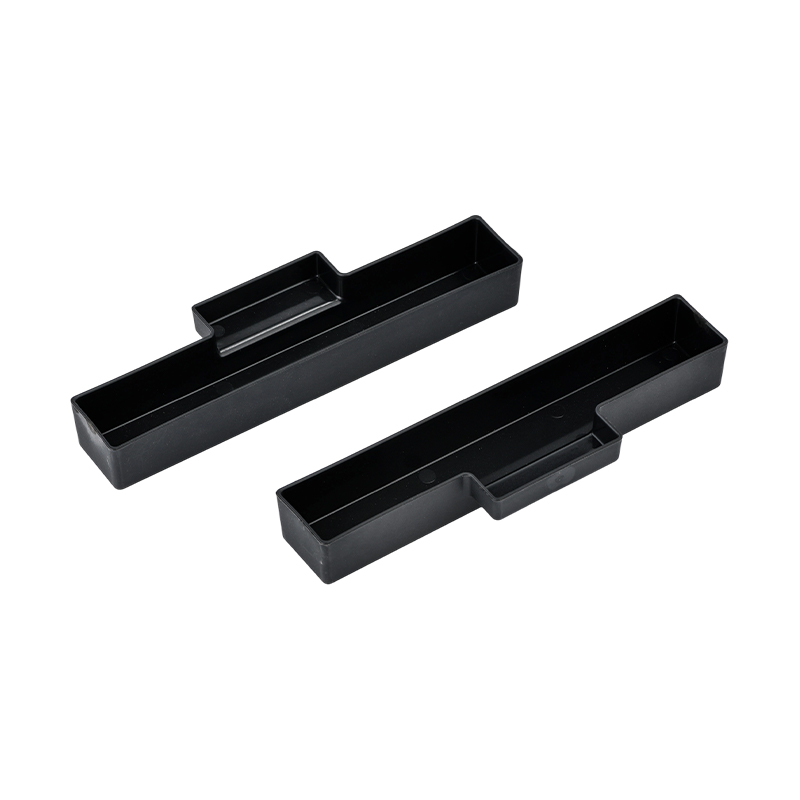 BJX-S026 4-Slice 180° Open Grill & Sandwich Maker with 3-Level ControlBuilt for family-sized meals, this 4-slice maker offers 3-level power (800W or 1600W) and opens flat for grilling. A removable oil drip tray reduces fat, while interchangeable plates let you switch between sandwiches, waffles, and grill cooking.View Product →
What bread works best in a panini maker?
Sourdough, ciabatta, focaccia and sturdy white loaves hold up best because they handle pressure without tearing. Very soft supermarket sandwich bread works only if the hinge floats and you press gently.
How do I clean the plates?
If the plates are removable, take them out and wash them in warm soapy water. If they are fixed, wipe them with a damp cloth while they are still warm. Avoid abrasive scrubbers, which damage the non-stick coating.