

 English
  中文简体
中文简体  Español
  Deutsch
Two slices of sourdough, one layer of mozzarella, and a timer running before the school pick-up: this is the moment that separates a sandwich maker from a panini press. A sandwich maker folds the bread into a sealed, golden pocket in about three minutes. A panini press flattens the same stack under a heavy hinged lid, presses dark grill stripes into the crust, and lets the cheese stretch as you lift the handle. Both cook from both sides at once, and both sit on roughly the same patch of countertop. The real difference is how they treat the bread.
The short answer is that a sandwich maker is a hinged appliance with shaped nonstick plates that toast a closed sandwich into a crisp, sealed pocket, while a panini press is a heavier grill with wide ribbed plates that flattens and griddles sandwiches, flatbreads, and vegetables. If you want quick lunches with sealed edges, choose the first. If you want restaurant-style paninis with grill marks, choose the second. If you have room for only one appliance, choose a multifunctional model that does both, and pay attention to the plate design rather than the name on the box.
Sandwich maker vs. panini press: the main differences
The main difference is the cooking action. A sandwich maker seals the edges of the bread into a compact pocket with a fairly light lid, while a panini press applies stronger pressure through wide, ribbed plates that flatten the bread and produce characteristic grill marks. This one difference changes the texture, the fillings you can use, and the list of foods the appliance can handle.
| Feature | Sandwich maker | Panini press |
|---|---|---|
| Plate shape | Deep rectangular pockets that seal the edges | Flat or lightly ribbed wide plates |
| Pressing force | Light lid pressure | Heavy, often spring-loaded lid |
| Best bread types | Standard sliced sandwich bread | Sourdough, ciabatta, baguettes, tortillas |
| Typical fillings | Egg, ham, cheese, jam | Cheese, meats, grilled vegetables, fruit |
| Grill marks | Usually none | Yes, diagonal ridges |
| Other uses | Mostly sandwiches and waffles with swap plates | Vegetables, steaks, quesadillas |
| Cleaning | Removable plates on most current models | Removable plates on better models |
If you mostly make toasties with sliced bread and sealed fillings, a sandwich maker is the faster tool. If you want to press ciabatta with olive oil and prosciutto, a panini press gives you the flat surface and the weight that create the classic crust. Many homes eventually own both, but a carefully chosen multifunctional model can cover both workflows.
What to look for in a sandwich maker and panini press
Four features decide performance: plate design, wattage, temperature control, and the hinge mechanism. Buy these right and a machine will toast evenly and survive years of daily punishment.
Removable nonstick plates
Removable plates come first because they determine cleaning effort and long-term cost. Fixed plates trap crumbs and oil in the gap around the heating element, and the coating wears unevenly. Most current machines use a PFOA-free nonstick coating rated to around 230 °C, which is enough for normal browning. Avoid abrasive pads, and treat the coating like a cooking pan: no metal spatulas, no dishwasher if the instruction label says hand-wash.
Wattage and heating speed
Wattage sets the pace. A 600–800 W sandwich maker produces one toasted sandwich in about three and a half minutes. A 1000–1500 W panini press browns a thick ciabatta in two to three minutes. Higher wattage also means faster recovery after you load cold ingredients, so the bread browns instead of steaming. If a machine takes more than five minutes to turn bread golden, the heating element is undersized or the plates are not making full contact.
| Appliance type | Typical wattage | Sandwich time | Panini time |
|---|---|---|---|
| Single-slice sandwich maker | 600–800 W | 3–4 min | Not recommended |
| Double-slice sandwich maker | 800–1000 W | 3–5 min | 3–4 min if opened flat |
| Wide panini grill | 1000–1500 W | 2–3 min | 2–3 min |
Temperature control and timer
Fixed heat is acceptable for a simple sandwich maker, but a panini press needs an adjustable thermostat because sourdough and focaccia behave differently. A control range of roughly 150–230 °C covers both gentle warming for fruit paninis and high-heat grilling for meat. A timer is a small addition that changes the result: set it for the bread type, walk away, and come back at the exact moment the cheese pulls. Models with a 15-minute timer and an indicator light are the most practical to live with.
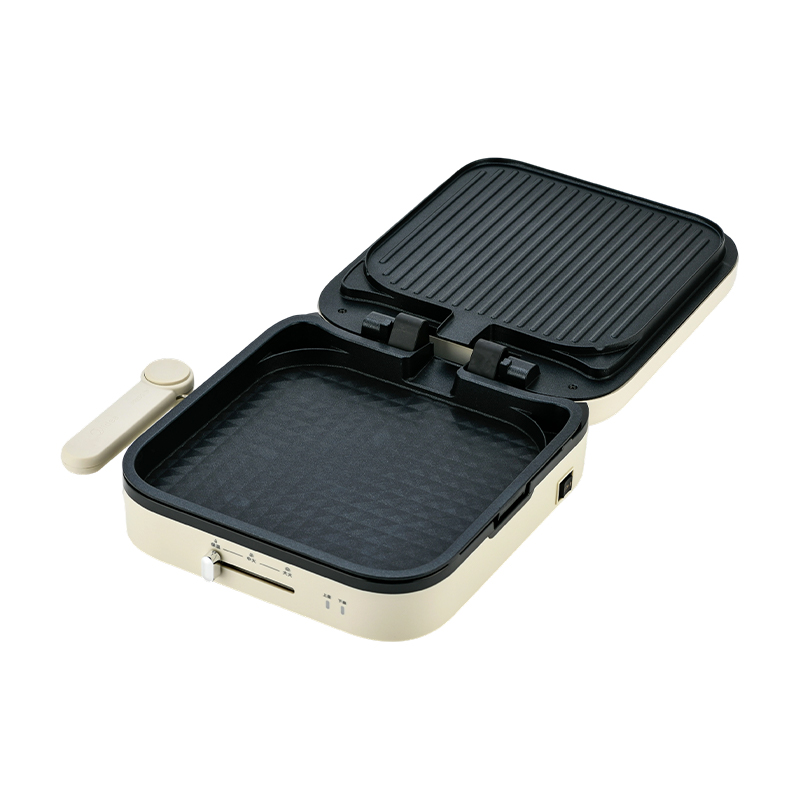 BJX-S023 28x28cm Temperature-Controlled Panini & Grill MakerThis large-plate maker offers dual heating options and a thermostat for precise heat, plus a 180-degree flat-open design that turns it into a tabletop grill for versatile family cooking.View Product →
180° opening and interchangeable plates
A hinge that opens the full 180 degrees turns two plates into one large double-sided grill. This is what lets a sandwich maker act as a panini press: you open the machine flat, place the bread on one side, and close the other side over it. Interchangeable plates add another layer; the same base can take sandwich pockets, flat grill plates, and waffle grids, which is where the term ‘multifunctional’ stops being marketing and becomes real utility.
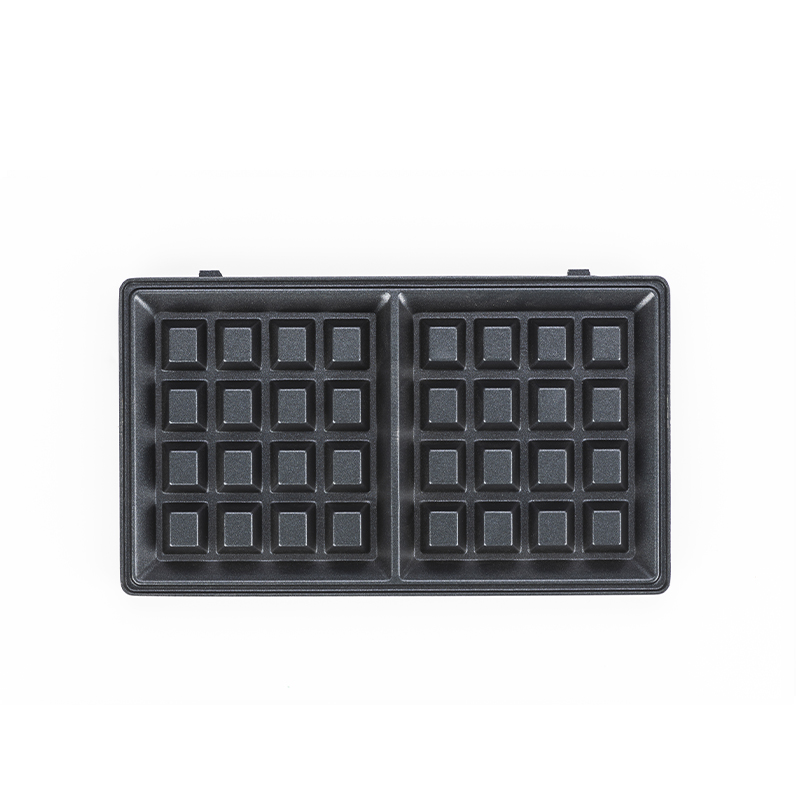 BJX-S025 2-Slice 180° Open Interchangeable Plate Sandwich & Grill MakerWith interchangeable plates and a flat-open hinge, this compact maker switches between sandwich press, grill, and waffle modes, offering practical versatility without taking up much space.View Product →
Single-slice, double-slice, or four-slice: match capacity to your household
The right capacity matches your usual portion size, not the biggest model on the shelf. Oversized machines take up more space, heat up a larger surface than you need, and cost more for no practical gain.
- Single-slice sandwich makers in the 600–800 W range suit one person, small kitchens, and dorms. They toast one pocket in 3–4 minutes and clean up in seconds.
- Double-slice models around 800–1000 W cook two sandwiches in one cycle and are the most common choice for couples and small families.
- Four-slice or 180°-opening models around 1200 W and above handle a household of four. Opened flat, they grill vegetables, chicken breasts, or four pieces of bread at once, so they replace both a sandwich maker and a countertop grill.
For a family of four, a four-slice unit with three-level temperature control is the practical midpoint between a personal sandwich maker and a full-size panini press.
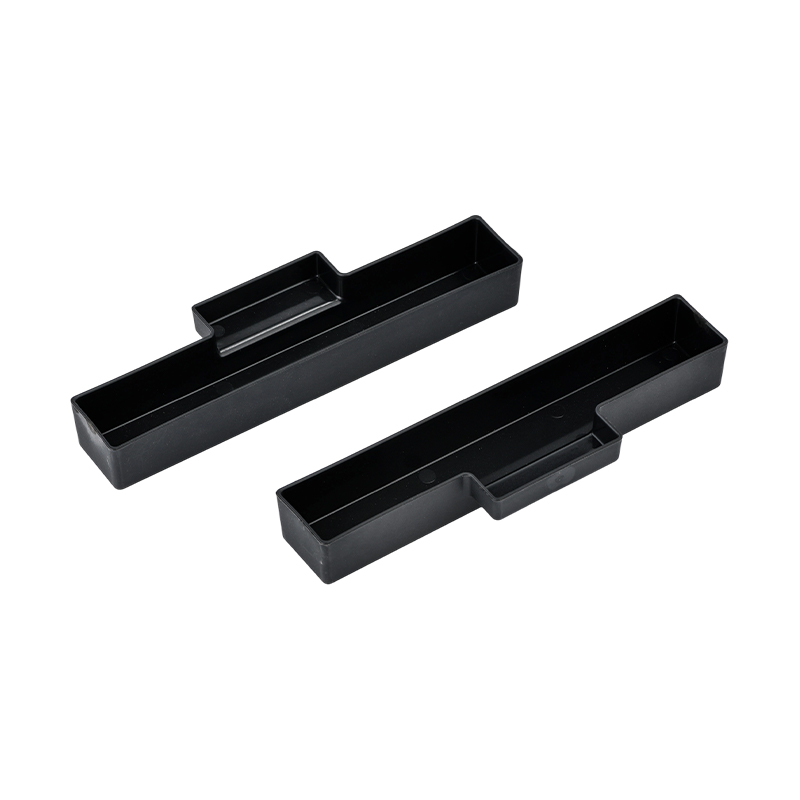 BJX-S026 4-Slice 180° Open Grill & Sandwich Maker with 3-Level ControlBuilt for family-sized meals, this four-slice unit features three power levels, a removable oil drip tray, and interchangeable plates, balancing capacity and flexibility for everyday cooking.View Product →
Buying mistakes that waste money
The most expensive mistake is choosing fixed plates that you cannot clean properly; the second is paying for wattage you will never use. These are the errors that come up most often in customer reviews and after-sales feedback.
- Ignoring the plate coating quality. Cheap nonstick coatings peel within months. Check whether replacement plates are available before you buy.
- Buying a sealed machine to save a few dollars. Fixed plates mean crumb-lined gaps and awkward cleaning almost every day.
- Assuming all models fit thick artisan bread. A deep pocket is needed for thick slices; shallow plates crush brioche and leave the centre undercooked.
- Overlooking the cord length and footprint. A 60 cm cord may reach the outlet, but a 90 cm cord lets you use the appliance in the middle of the counter without stretching.
- Skipping the timer. A model with a mechanical timer avoids burnt edges when the phone rings mid-cook.
If a deal looks too good, check the plate size in centimetres. A 24×24 cm surface is fine for one or two slices; a 28×28 cm surface is close to a full panini press and will handle larger bread more convincingly.
Can one appliance replace both a sandwich maker and a panini press?
A multifunctional model replaces both if it has a full 180-degree hinge, interchangeable plates, and at least one adjustable heat setting. With the flat grill plates, you press ciabatta and grill vegetables; with the sandwich plates installed, the same base seals classic toasties.
This double-duty approach is the most practical route for a small kitchen. Instead of storing two appliances, you store one base and a couple of plate sets. The workflow also gets faster once you standardise on one machine; our guide to turning a home sandwich maker into a kitchen-efficiency tool walks through a weekly routine that uses the same appliance for breakfast and dinner.
Care and maintenance that keeps the coating alive
Cleaning a sandwich maker or panini press takes less than a minute if you follow one rule: never pour water over the hot plates and never scrub the coating.
- Unplug the appliance and leave it to cool until the plates are warm, not hot.
- Wipe the plates with a soft damp cloth or a paper towel to remove oil and crumbs.
- If the plates are removable, take them out and wash them in warm soapy water with a soft sponge.
- Dry the plates completely before putting them back, and store the machine with the lid partly open to avoid condensation.
- Once a month, rub a drop of neutral cooking oil over the coating to keep it conditioned.
Detailed methods for stuck-on residue and deeper cleaning can be found in our supplementary guide to cleaning, maintenance, and safe use of home sandwich makers.
Frequently asked questions about sandwich makers and panini presses
Can a sandwich maker be used as a panini press?
Yes, if the plates are flat or only lightly ribbed and the hinge opens wide enough to press the food. Deep-pocket models seal the edges and will not flatten thick artisan bread, so the result is a toasted pocket rather than a flat panini.
What is the difference between a sandwich press and a panini press?
Often only the name. Retailers use sandwich press, panini press, and toastie maker interchangeably. The real differences are found in the plate shape, the hinge pressure, and whether the plates are removable.
How long does a sandwich maker take to cook?
Most models cook a regular bread-and-cheese sandwich in three to five minutes. Frozen bread adds about a minute. If a machine takes longer, check the wattage and whether the plates contact the bread across the full surface.
Are expensive panini presses worth the money?
Only if you need precise temperature control and a heavy, spring-loaded lid for even browning of thick bread. For occasional paninis, a mid-range model with removable plates delivers nearly the same results for a fraction of the price.
Choose a sandwich maker when you want sealed pockets and three-minute lunches. Choose a panini press when you want a wide, flattening grill with dark stripes on the crust. Choose a multifunctional model with removable plates, a 180-degree hinge, and a timer, and you get both functions in one footprint. Put plate quality and temperature control at the top of your checklist; the bread will confirm your decision on the first use.