

 English
  中文简体
中文简体  Español
  Deutsch
A breakfast sandwich maker assembles and cooks an egg-and-cheese sandwich in one compact unit, and the whole process takes about five minutes from start to finish. The proven sequence is simple: preheat the plates, lay down one slice of bread, add cheese and pre-cooked meat, crack an egg into the cooking ring, place the top slice, and close the lid. That is the complete method in one sentence; the rest of this guide explains the details that produce consistent, non-stuck results every morning.
How a Breakfast Sandwich Maker Works
A sandwich maker is a small hinged press with a non-stick bottom plate, a spring-loaded top plate, and a removable egg ring in the center of the lower cooking surface. When the lid is closed, the top plate rests just above the egg ring, so the egg cooks in a sealed cavity while the bread toasts on both sides at the same time.
The Parts You Will Be Working With
- Lower cooking plate: holds the bottom bread and receives the egg ring.
- Egg ring (or cooking ring): creates a round chamber that keeps the raw egg inside the sandwich footprint.
- Upper cooking plate: toasts the top of the sandwich and applies gentle, even pressure.
- Power light: indicates when the plates have reached cooking temperature.
- Handle and latch: lets you open the lid fully or lock it shut during cooking.
Why the Layering Order Matters
The order of ingredients is not decorative; it controls where the heat goes and how the egg sets. The bread on the bottom absorbs direct heat from the lower plate and creates a barrier that keeps the egg from dripping toward the heating element. Cheese placed directly on the bottom bread melts into it, while the egg sits on top of the cheese and cooks from the ring and the upper plate. Reverse the order and you end up with a raw bottom, a burnt top, or egg white running over the rim. This compact design is why manufacturers describe the sandwich maker as a practical family kitchen appliance rather than a novelty gadget, as covered in our look at multifunctional sandwich makers for modern families.
Step-by-Step Breakfast Sandwich Maker Instructions
The full process below works for the vast majority of 600W to 900W home sandwich makers. Read it through once before your first attempt; from the second batch onward, the whole routine takes under five minutes.
- Plug the unit in and close the lid. Preheat for two to three minutes until the power light shows the plates are up to temperature.
- Lightly butter or spray the lower plate and the underside of the upper plate. This is the single most reliable way to prevent sticking.
- Place one slice of bread in the center of the lower plate. If you are using an English muffin, split it and put the bottom half cut-side up.
- Add one slice of cheese and any pre-cooked meat, such as ham, bacon, or breakfast sausage crumbles. Keep every filling inside the bread footprint.
- Set the egg ring over the filling and crack one egg directly into the ring. Pierce the yolk lightly with a fork so it spreads and cooks evenly.
- Place the second slice of bread on top, then close the lid. Do not press down hard; the hinge applies enough pressure on its own.
- Cook for three to five minutes, depending on the bread type and how firm you like the yolk. If your unit has a timer, a sandwich maker with a 15-minute timer and removable plates
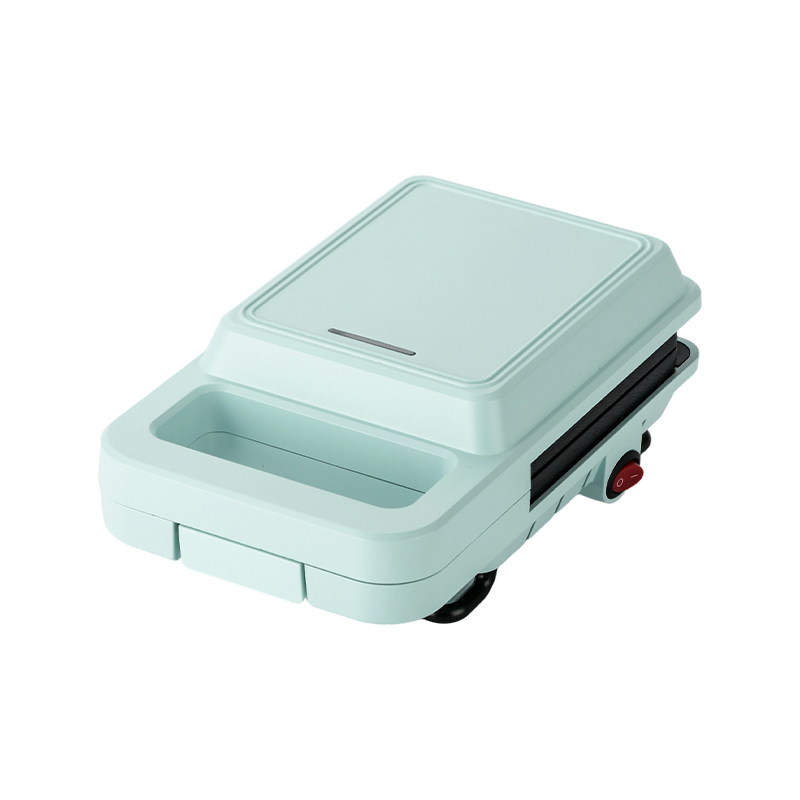
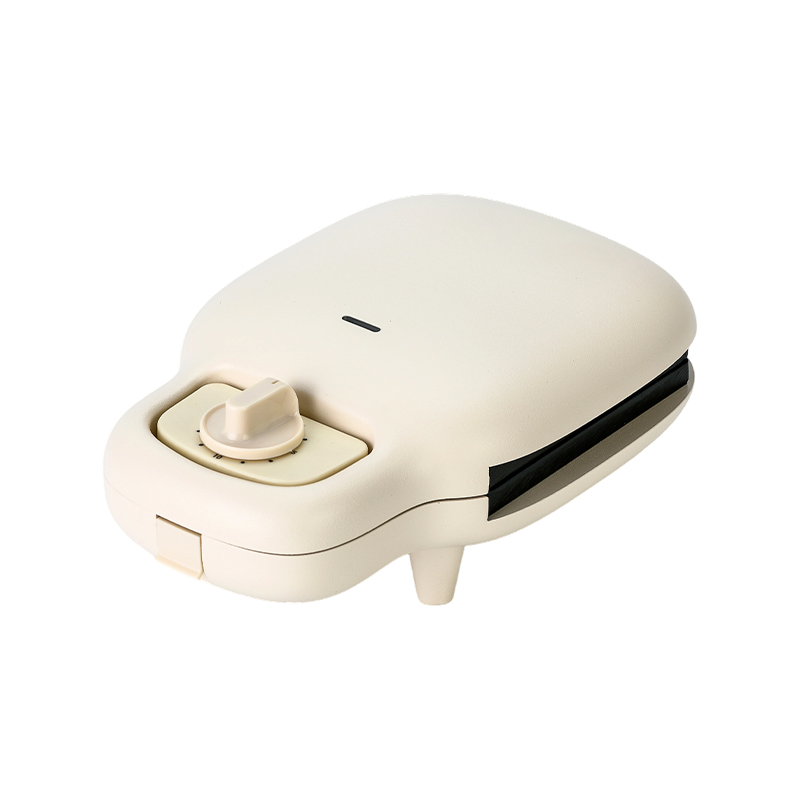
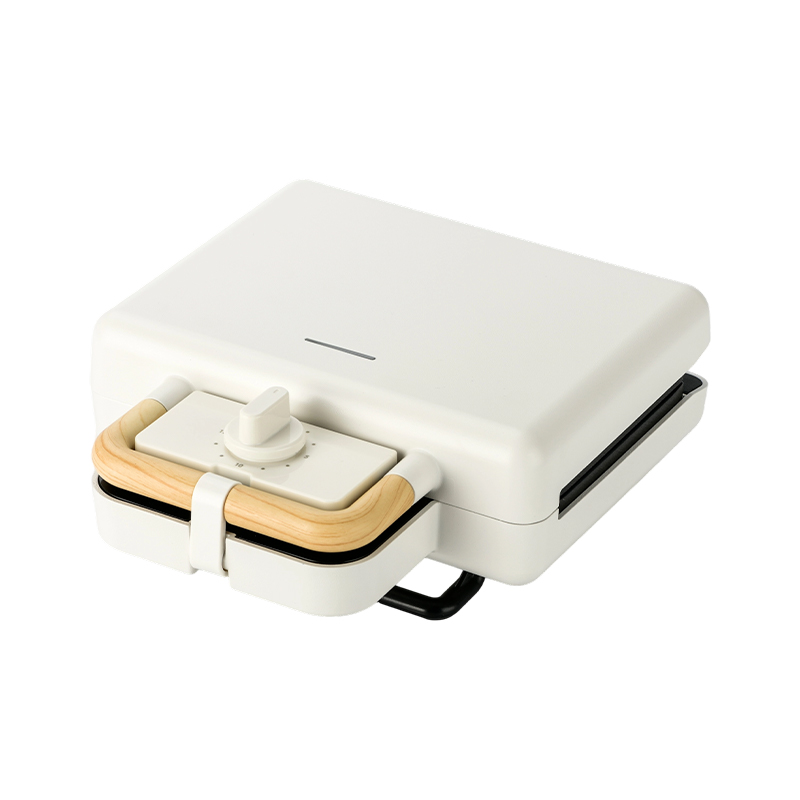
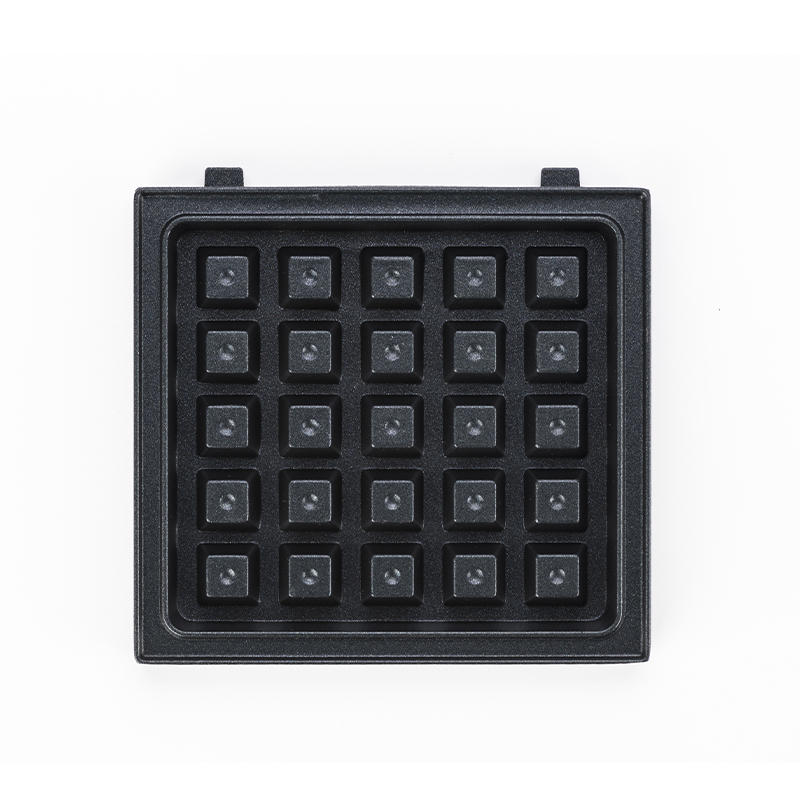 BJX-S006 15-Minute Timer Single-Slice Plate Removable Plates Sandwich Maker SupNingbo Beijiexi Electrical Appliance Co., Ltd is China BJX-S006 15-Minute Timer Single-Slice Plate Removable Plates Sandwich Maker suppl...View Product → simplifies this step.
 - Open the lid, loosen the sandwich with a wooden or silicone spatula, and slide it out. Never use metal utensils on the non-stick coating.
First-Time Setup Tips
Before your first real batch, run the unit empty for about three minutes to burn off any manufacturing residue, then wipe the plates with a damp cloth. This also confirms that the power light and the hinge work correctly.
Adapting the Instructions to Different Models
Models with a 180° opening mechanism can be used like a small griddle, which is handy when you want to toast the top slice separately or cook two sandwiches side by side. Fixed-plate models follow exactly the same sequence, but they must be cleaned in place rather than with removable plates.
Getting the Timing Right
Most home sandwich makers use a fixed thermostat rather than adjustable temperature dials, so cook time is your main control. A standard 700W to 850W unit will set a medium egg and toast white bread in about three and a half minutes; denser breads need closer to five.
| Bread type | Egg | Cook time | What to expect |
|---|---|---|---|
| Thin white bread | Small to medium | 3–4 minutes | Golden edges, fully set white, soft yolk |
| Whole wheat or multigrain | Medium | 4–5 minutes | Crisp crust, fully cooked yolk |
| Thick artisan bread | Large | 5–6 minutes | Deep toast, firm yolk |
| Split English muffin | Medium | 4–5 minutes | Toasted nooks, even browning |
How to Tell When It Is Done
You can open the lid briefly after three minutes to check. The bread should be golden and crisp, the egg white fully set, and the cheese visibly melted into the filling. If the top still looks pale while the bottom is dark, your unit runs hot; cut 30 to 60 seconds off the next batch.
Adjusting for Cold Ingredients and Altitude
Eggs straight from the refrigerator add about 30 seconds to the cook time. At altitudes above roughly 1,500 meters, water boils at a lower temperature, which slows egg setting, so add another 30 seconds. Letting the filling sit at room temperature for five minutes before cooking shortens the cycle noticeably.
Common Mistakes and How to Avoid Them
Most failed breakfast sandwiches come down to four predictable errors: overfilling, pressing the lid, using wet ingredients, and choosing bread that is too large for the plate. Each one has a straightforward fix, summarized below.
| Problem | Cause | Fix |
|---|---|---|
| Egg white leaks out | Ring not seated flat, or egg too large | Use a medium egg; press the ring down firmly |
| Soggy bread | Wet fillings such as raw tomato | Sear tomato slices first; cook the egg fully |
| Burnt outside, raw middle | Lid pressed down hard | Let the hinge do the work; add no extra pressure |
| Sandwich sticks to the plate | No grease on the cooking surface | Butter or spray the lower plate before every batch |
| Undercooked meat | Raw sausage or thick bacon | Pre-cook all meats before assembling |
Do Not Press the Lid Down
Forcing the handle down does not speed up cooking; it squeezes moisture out of the egg and produces a dense, rubbery result. The lid should close under its own weight, with the latch engaged if your model has one.
Pick the Right Bread and Filling Volume
Square sandwich bread around 10 to 12 cm per side fits most plates without hanging over the rim. Filling thickness should not exceed the height of the egg ring; if you cannot close the lid without resistance, remove one ingredient. The sandwich should be full enough to hold together but thin enough that steam can escape around the edges.
Cleaning and Maintenance
Clean the unit while it is still warm but no longer hot, roughly five minutes after unplugging it. Warm plates release cooked-on egg far more easily than cold ones, and the residual heat dries moisture before it can seep into the hinge area.
Daily Cleaning Steps
- Unplug the unit and let it cool for five minutes.
- Wipe the lower and upper plates with a damp, non-abrasive cloth or paper towel.
- If the egg ring is removable, lift it out and rinse it under running water.
- For stubborn residue, apply a little warm soapy water to the cloth and wipe again; do not pour water onto the base.
- Dry every surface before closing the lid and storing the unit.
Deep Cleaning for Removable Plate Models
Units with detachable plates are simpler to maintain: remove the plates and wash them in warm soapy water, then wipe the heating element with a dry cloth. The complete walkthrough in our sandwich maker cleaning, maintenance, and safe-use guide covers the same routine for fixed-plate models. If you are still deciding between designs, a multifunctional sandwich maker with removable plates reduces the daily cleanup to about one minute.
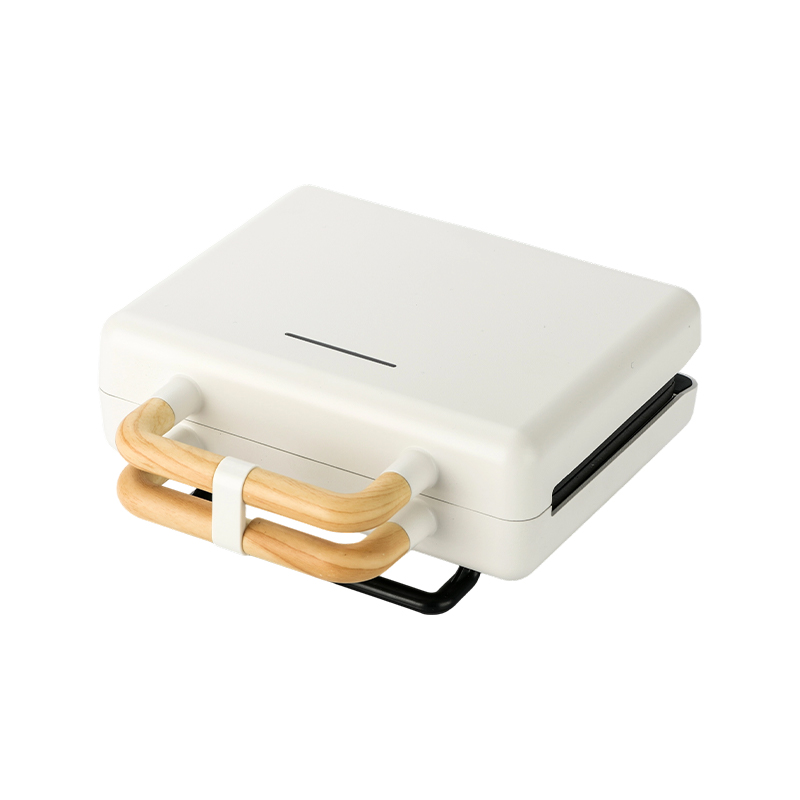
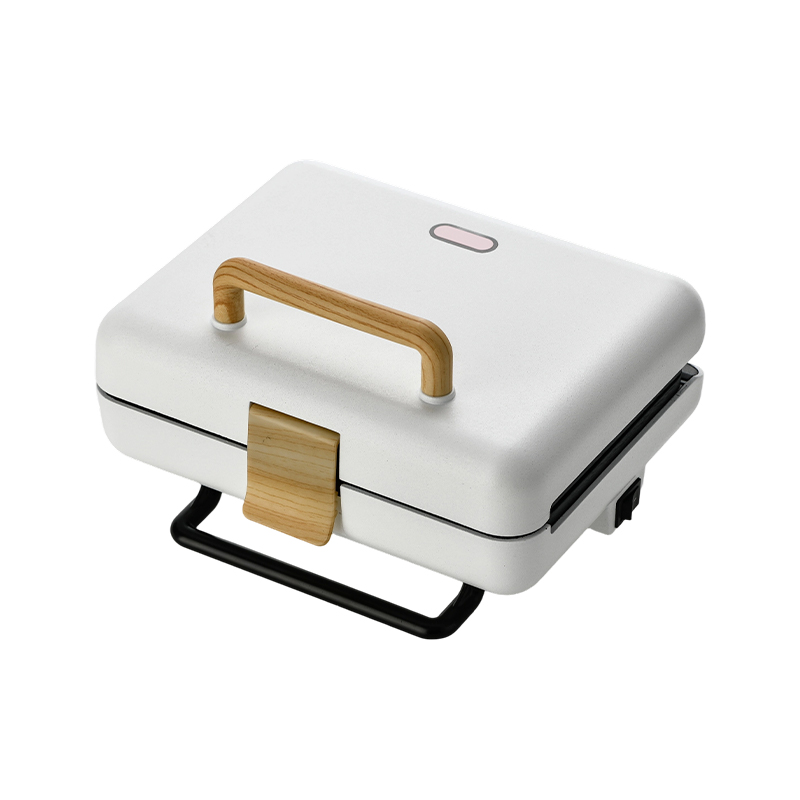
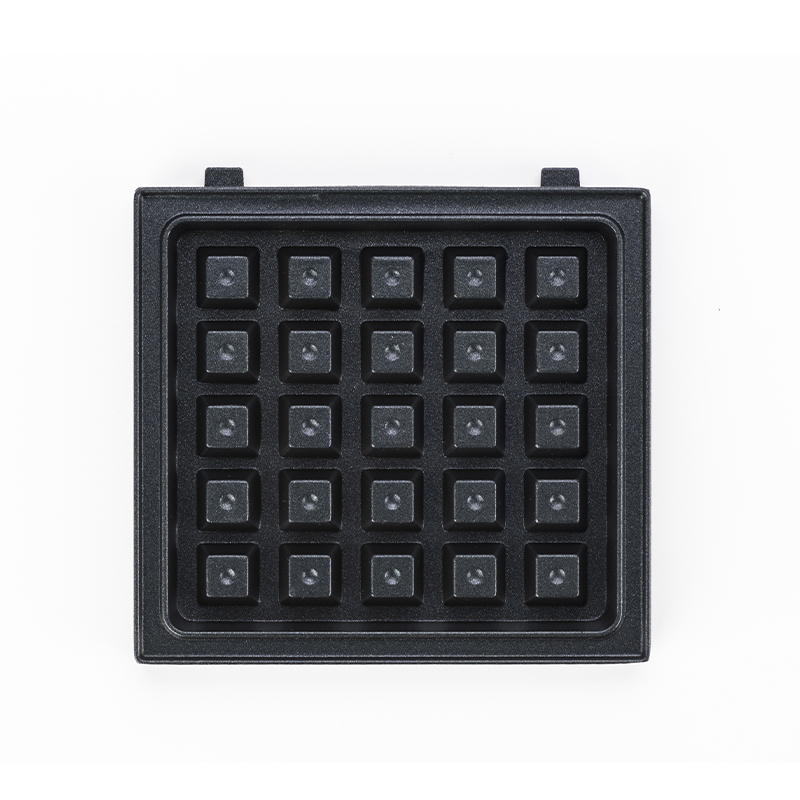 BJX-S005 Multifunctional Sandwich Maker with Removable Plates Supplier, CompanyNingbo Beijiexi Electrical Appliance Co., Ltd is China BJX-S005 Multifunctional Sandwich Maker with Removable Plates supplier and custom ...View Product →
Make-Ahead Breakfasts and Batch Cooking
A sandwich maker is also a practical tool for weekly meal prep: a batch of five sandwiches takes about 25 minutes, and the finished sandwiches freeze and reheat better than most bakery items.
Freezing and Reheating
Cook the sandwiches, let them cool completely on a wire rack, wrap each one individually in parchment paper, and place the wrapped pieces in a freezer bag. To reheat, remove the wrapping, wrap the sandwich in a paper towel, and microwave for 90 seconds at medium power. The paper towel traps steam and keeps the bread soft instead of rubbery.
Batch Production Workflow
For two sandwiches at once, a two-slice 180° opening sandwich grill maker with interchangeable plates cuts the total time nearly in half. Cook two sandwiches for four minutes, remove them, and immediately load the next pair; keeping a steady load-and-unload rhythm prevents the plates from overheating between batches. This is the kind of routine examined in our analysis of how the home sandwich maker becomes a kitchen efficiency tool.
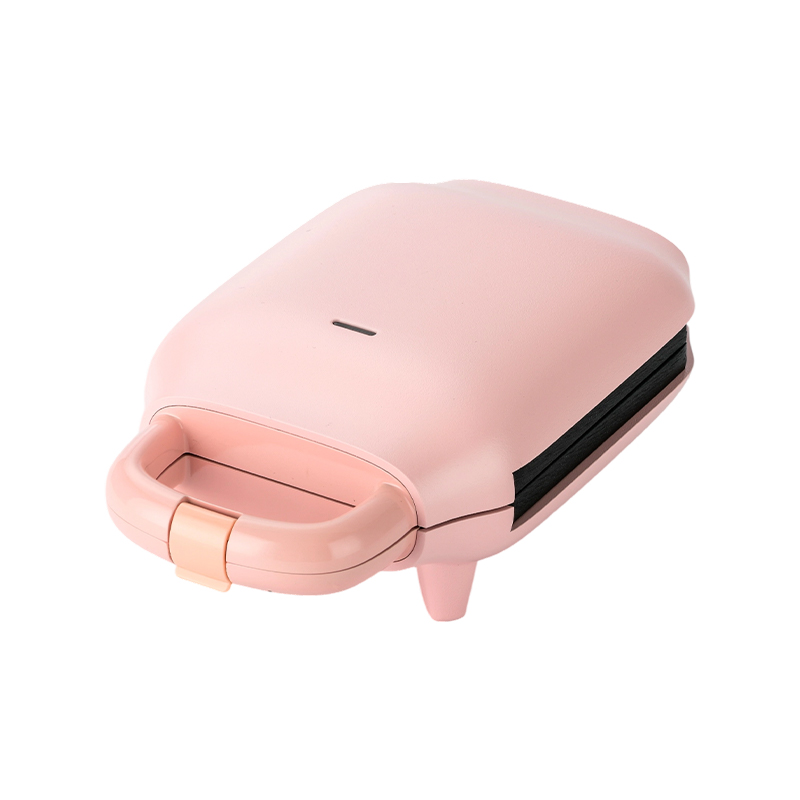
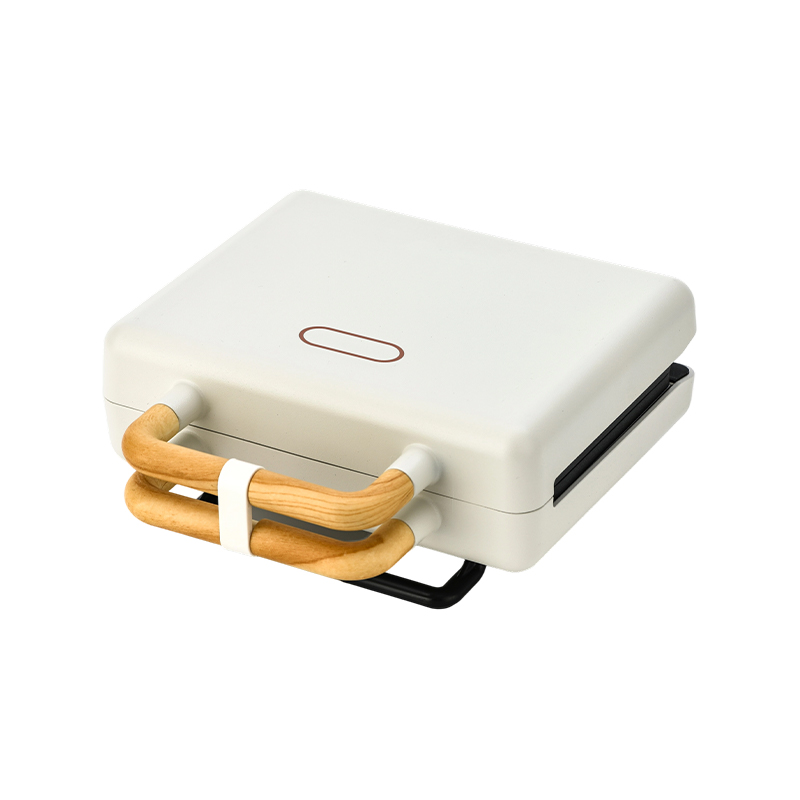
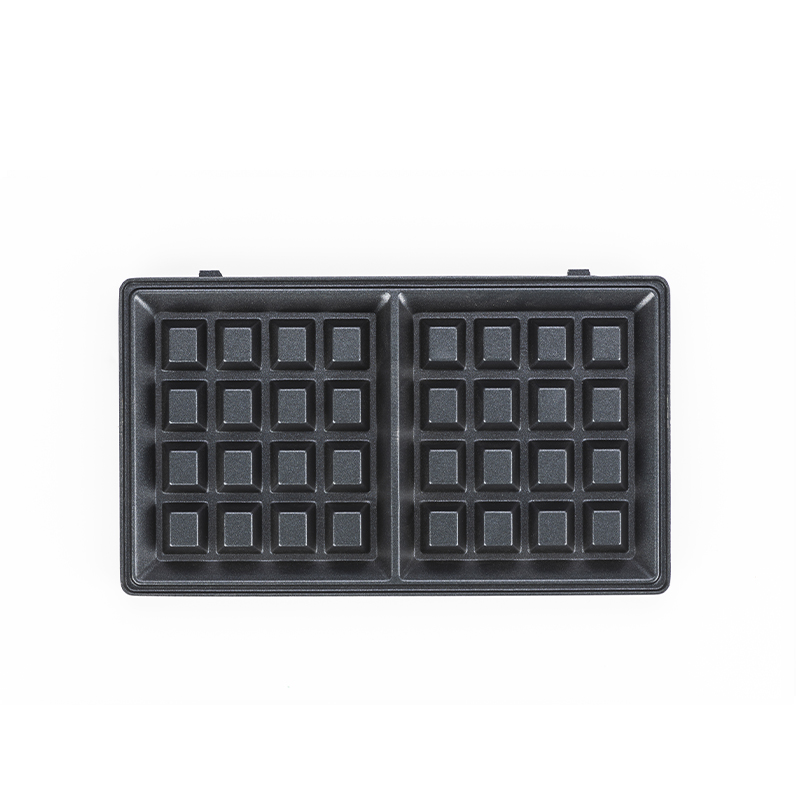 BJX-S025 2-Slice 180° Open Interchangeable Plate Sandwich & Grill Maker SupplierNingbo Beijiexi Electrical Appliance Co., Ltd is China BJX-S025 2-Slice 180° Open Interchangeable Plate Sandwich & Grill Maker supplier a...View Product →
Frequently Asked Questions
Short answers to the questions first-time users ask most often.
How long does a breakfast sandwich maker take?
Three to five minutes of cook time, plus two to three minutes of preheat. The first sandwich of the day takes about seven minutes from plug-in to plate; every sandwich after that needs only the cook time.
Can you use a raw egg in a sandwich maker?
Yes, a fresh raw egg is the intended filling. Crack it directly into the egg ring, pierce the yolk once, and cook until the white is fully set and the yolk reaches the firmness you prefer.
Do you need to flip the sandwich while it cooks?
No. The upper plate cooks the top of the sandwich while the lower plate cooks the bottom, so flipping is never necessary. Opening the lid to check is fine, but avoid lifting the sandwich itself before the egg has set.
What bread works best?
Standard square sandwich bread, whole wheat sandwich bread, and split English muffins work best. Oversized artisan loaves and very thick slices should be trimmed or pressed lightly before use so the lid closes evenly.
Can you use the sandwich maker without the egg ring?
On most models, removing the ring turns the unit into a small open grill. You can toast the inside of a bagel, warm tortillas, or cook a flat egg. Some budget units have a fixed ring, so check the instruction manual for your specific model.